UPDATED JULY 2026 after our hike with what we learned and in AUGUST 2026 with the latest advice about packing food and food wrappers to protect them from rodents at the campsites.
Preparing to walk the Ngaro Track as an independent hiker? We bring together the official advice on packing lists with our own experience of packing for and hiking the track to help you figure out what you can carry comfortably, what to bring and what you can leave behind.
Contents
Step 1. Get the official packing list
Step 2. Figure out how much weight you can carry
Step 3. Read tips from Ngaro Track hikers
Step 4. Figure out your base items
Step 5. Figure out your worn items
Step 6. Figure out your consumables
Step 7. Pack, test, edit and repack
Step 8. The final bits
Step 1. Get the official packing list
First up, review the official Packing Guide on the Ngaro Track website, under ‘What To Expect and Preparation Tips’.
After you have booked you will also receive a Walker Safety Preparation and Packing Guide PDF by email which is a little more detailed and in a print-friendly format.
It’s important to have these to refer to throughout your packing. Transfer operator Scamper can request to check you have all the requisite safety items if they’re concerned you may not be adequately prepared.
Step 2. Figure out how much weight you can carry
It’s no fun carrying a pack that’s too heavy. The lighter the pack the easier the hike will be, but of course this needs to be balanced against safety and comfort, particular for a remote island walk.
Traditional, lightweight and ultralight pack weights
The traditional rule of thumb for multi-day hiking is that your pack should weigh no more than 20–25% of your body weight. Lightweight hikers aim to limit their pack to 15–20% of their body weight. Ultralight hikers shoot for 10–15% of their body weight.
Here’s how this works out. Note that this applies for adults and for children 12 years and over.
| Body Weight | Max. Pack Weight | ||
|---|---|---|---|
| Traditional | Lightweight | Ultralight | |
| 40kg | 8–10kg | 6–8kg | 4–6kg |
| 50kg | 10–12.5kg | 7.5–10kg | 5–7.5kg |
| 60kg | 12–15kg | 9–12kg | 6–9kg |
| 70kg | 14–17.5kg | 10.5–14kg | 7–10.5kg |
| 80kg | 16–20kg | 12–16kg | 8–12kg |
| 90kg | 18–22.5kg | 13.5–18kg | 9–13.5kg |
| 100kg | 20–25kg | 15–20kg | 10–15kg |
It’s a good idea to aim for a pack weight in the lightweight range.
Maximum pack weights for children younger than 12 years old
For younger children it’s typically recommended that their packs are lighter:
- Age 5–7 years: 5–10% of body weight, or around 2–3kg
- Age 8-11 years: 10–15% of body weight, or around 3–6kg
If you’re considering bringing children, check out our article Walking The Ngaro Track With Kids and Teenagers.
Base items, consumable items and worn items
Experienced hikers broadly categorise their gear into three types:
- Base Items = the gear and equipment in your pack throughout the hike
- Consumable Items = the food and water you consume during the hike
- Worn Items = the clothes, shoes and accessories you wear whilst hiking
Your Total Pack Weight is the weight of your base items plus your consumables:
Total Pack Weight = Base Weight + Consumables Weight
This is the weight you are carrying in the backpack itself. It doesn’t include what you’re wearing.
[On a side note, some hikers also like to calculate their Total ‘Skin-Out’ Weight, which is their base weight items plus consumables plus what they’re wearing: Total ‘Skin-Out’ Weight = Base Weight + Consumables Weight + Worn Weight].
Step 3. Read tips from Ngaro Track hikers
Every multi-day hike in Australia is different. Our country has six different climate types, not to mention the variation within that, seasonal changes, and the differing facilities available along the route.
There’s nothing better than getting tips and tricks from others who have already done this actual hike to help you plan your packing.
You don’t need many clothes
Bring a ‘dry bag’ for your food and any food packaging
Keep your cooking setup and food simple
You may not need to carry 3 litres of water all the time
A few luxuries really help
Do some pre-hike reading
You don’t need many clothes
The Whitsundays is in a tropical climate zone. The Ngaro Track hike is open from April to October, which is the cooler, drier season. The days are usually warm and sunny, the nights are mild, rainfall is minimal and humidity is lower.
| Statistics | Apr | May | Jun | Jul | Aug | Sep | Oct |
|---|---|---|---|---|---|---|---|
| Max. Temp (°C) | 27.1 | 24.8 | 22.4 | 21.9 | 22.9 | 25.4 | 27.6 |
| Min. Temp (°C) | 22.6 | 20.8 | 18.4 | 17.6 | 18.1 | 19.8 | 21.8 |
| Ave. Rain (mm) | 192.1 | 122.1 | 80.5 | 64.8 | 39.6 | 25.8 | 38.3 |
| Wet Days | 13.2 | 11.9 | 8.2 | 6.1 | 4.9 | 3.1 | 4.5 |
Source: Bureau of Meteorology. Wet Days = the number of days in the month with more than 1mm rain.
For Ngaro Track hikers, this means we don’t need to pack the thermals that our friends tackling the hikes of Tasmania or New Zealand need to bring. We wore the same clothes each day, swapping shorts for long pants and adding layers gradually as the afternoon cooled into evening.
Some of these clothes could also be worn overnight, and everything else including our jackets went under the sleeping mat to provide extra padding for our shoulders and hips. Others have rolled up their spare clothes into their jacket to use as a pillow.
Looking back, we overpacked clothing which added unnecessary weight. You really don’t need a fresh outfit every day. Most clothes can easily be worn twice, and/or to bed. The one thing you don’t want to compromise on is having warm layers for the evenings. – Sarah, Ngaro Track Hiker
Bring a ‘dry bag’ for your food and any food packaging
There are rats and possums on Whitsunday Island, and since the Track opened in April 2026 rats have started to make themselves known at Camps 1 and 2. They can climb anywhere on the wooden structure of the communal shelters, including the rafters and the beams where the backpack pegs are. They have been nibbling through the packs hung there and through the sides of tents to get to food or food wrappings inside.
Interestingly, it is often empty food packaging that is more sought after. Recently some hikers found that food left on the stainless steel counter overnight was left alone in favour of empty food wrappers in a pack hanging on one of the pegs. Rodents typically avoid the slippery-smooth surface of stainless steel as they can’t grip it with their claws like they can with wood.
In August 2026 Queensland Parks and Wildlife Service added a sturdy food storage box into the communal shelter at each campsite.
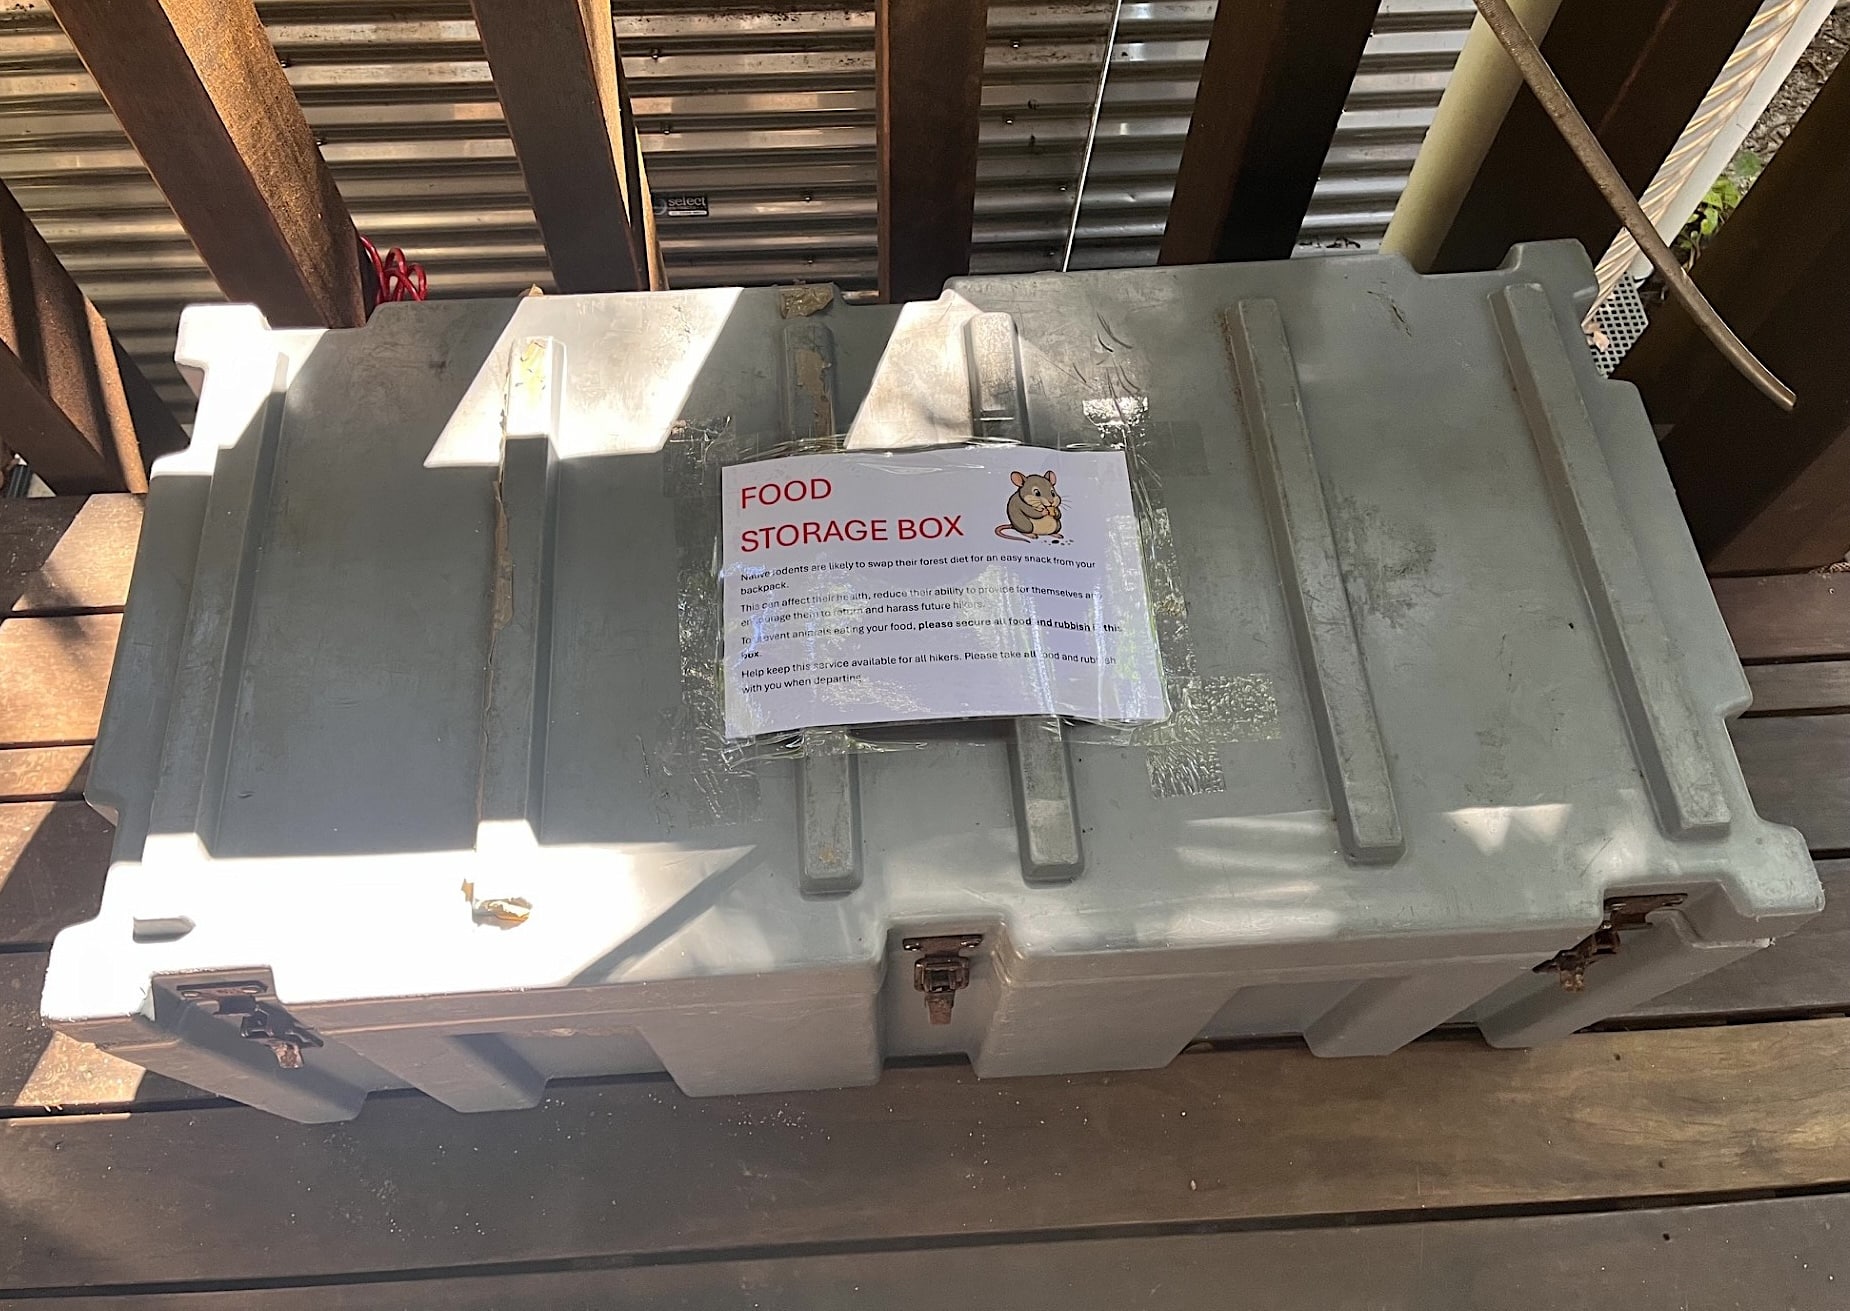
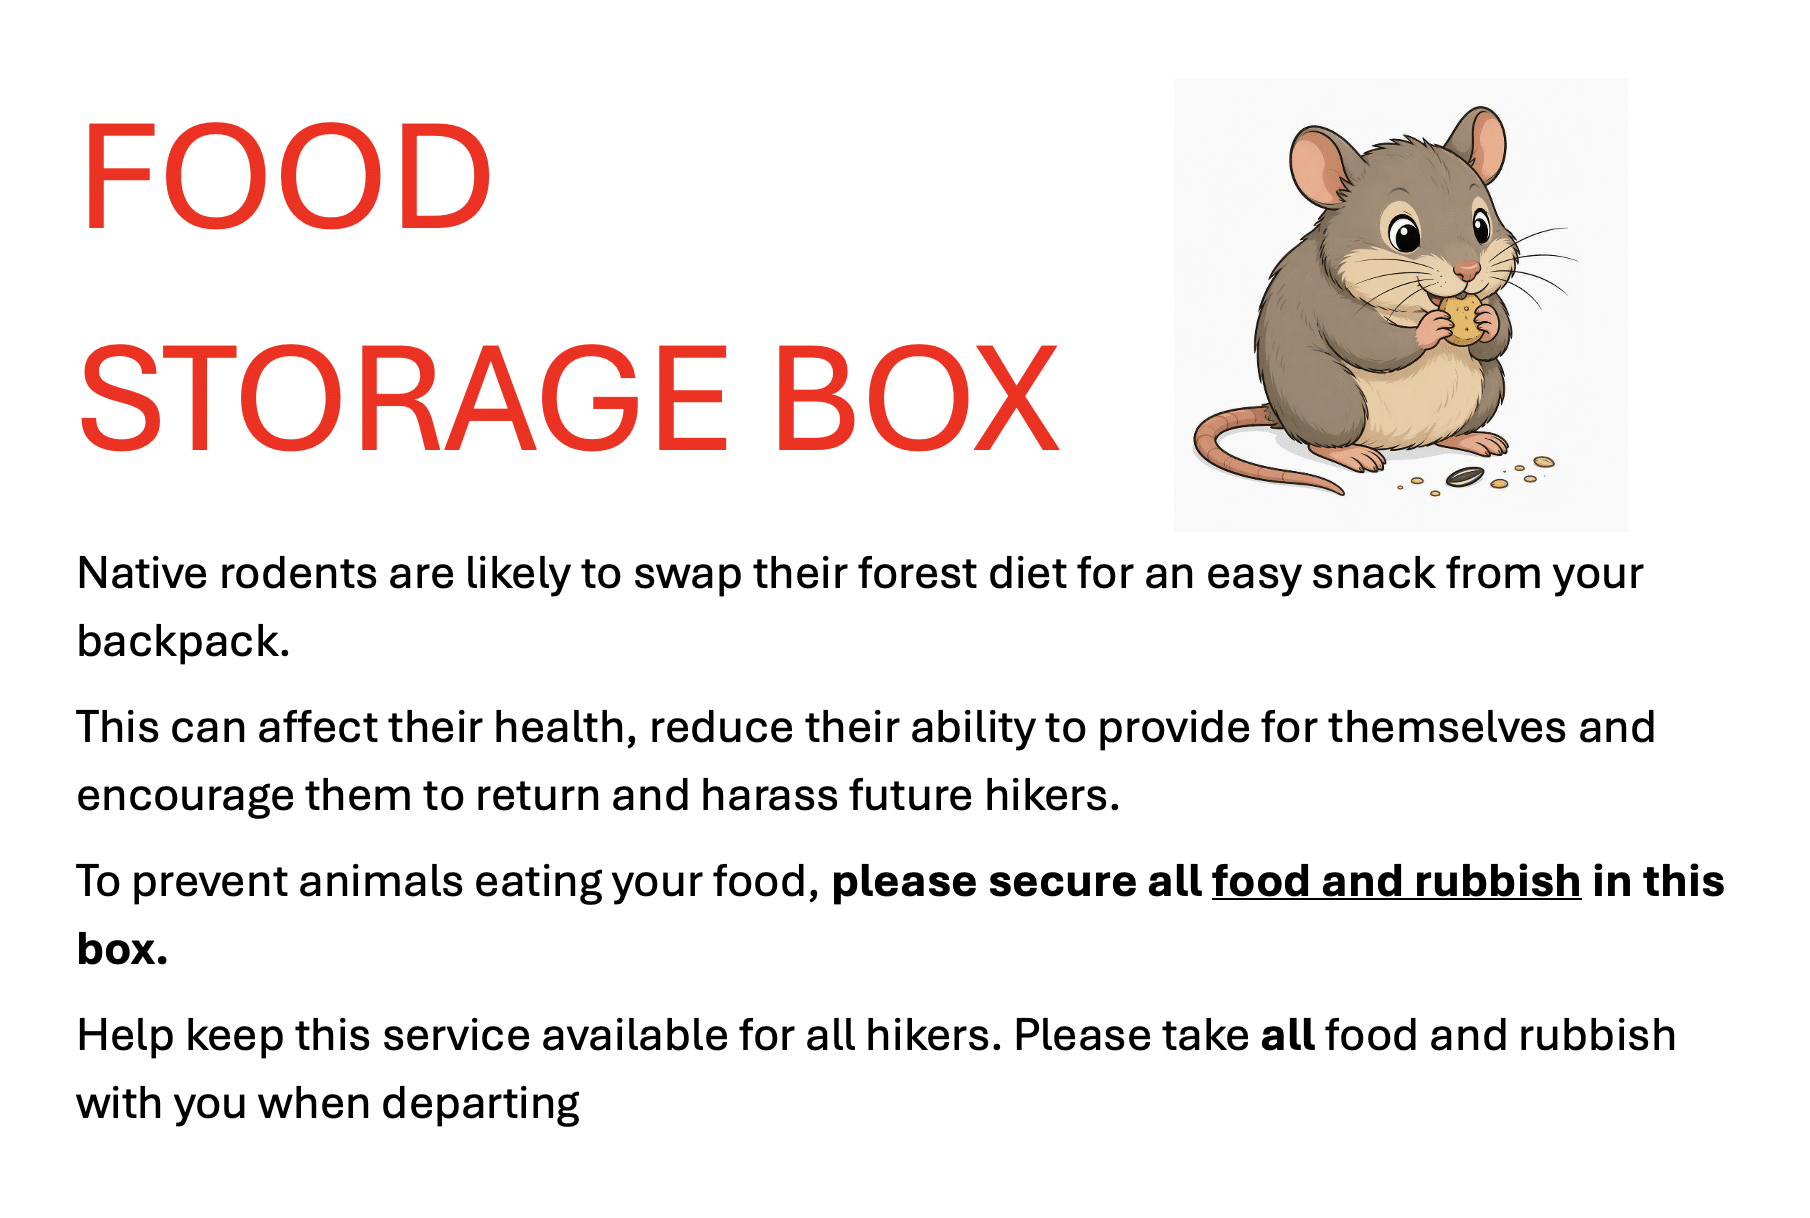
Their advice to hikers to minimise rodent activity and damage is:
- Put all your food and any food wrappings inside a dry bag. This minimises odours and also keeps all your items together.
- Put your dry bag into the storage box overnight.
- Don’t keep any food or empty food wrappings in your pack or tent overnight.
- Ensure you take your dry bag of supplies and wrappings with you the following morning.
Dry bags are easy to get from camping stores. They come in all different sizes – these Sea To Summit dry bags are a good example.
If these storage boxes work out well and hikers don’t leave rubbish in them when they leave, a more permanent solution will be implemented.
Keep your cooking setup and food simple
The Ngaro Track hike only includes two nights camping, although you can extend this if you wish by booking to camp at Whitehaven Beach or Chance Bay for a night or two before your hike starts (additional permits required).
Everyone has different preferences for what they want to eat during a hike, but most have one thing in common: they want a cup of tea, coffee or hot chocolate in the morning, and sometimes in the afternoons and evenings too. Taking a lightweight hiking stove that is good at boiling water fast, even in a windy situation like Camp 1, is well worth it. Most hikers in our group used Jetboil stoves which boil water in just 1–2 minutes.
With access to water and a quick way to boil it, “just add water” dinners are the most lightweight way to go. That doesn’t have to mean two minute noodles:
- Visit your local Asian grocer for more interesting instant noodle bowls; you can decant the contents into ziplock bags instead of bringing the bulky packaging.
- Check out instant pasta and rice meals in the supermarket; for most you can just soak the contents in boiling water.
- Try a dehydrated meal from a camping store; these are relatively expensive and opinions vary – some hikers love them, others detect a certain taste or smell about them that they don’t like. Popular brands are The Outdoor Gourmet Company and Backcountry Cuisine, both made by Backcountry Cuisine and available from their online store or from big camping stores.
We’d recommend relying less heavily on meals that require cooking. Ready-to-eat options would have saved us time and precious gas. We underestimated our gas usage and ran out on the final day. An unexpected upside was that it forced us to make ‘overnight oats’ by soaking them in cold water with powdered milk and cinnamon overnight. They tasted great, and saved us time the next morning. – Sarah, Ngaro Track hiker
Some campers in our group carried vacuum-sealed pre-prepared meals, which were tasty but heavier to carry than instant / dehydrated options. Others tried to cook more complex things and wished they hadn’t.
You may not need to carry 3 litres of water all the time
We hiked the Ngaro Track in July and found that we were comfortable carrying 1 to 1.5 litres of water each at a time. We had water bladders capable of carrying 3 litres, but with water being available at Camp 1 and Camp 2, and at water points part-way through Day 2 and Day 3, we preferred to carry less water and top up on the way. Next time we plan to bring lightweight water bottles (not insulated) instead of bladders, as bottles are easier to top up.
This might not work for everyone, and when it’s warmer in April–May or September–October you may prefer to carry more.
Remember all water must be treated before drinking, so keeping your water purification tablets handy and not buried in your backpack is a good idea.
Before the hike it would be a good idea to check if recent hikers have noted anything about water availability in the Ngaro Track and Whitsunday Hikes Facebook group. Also pay attention to any signage indicating a change in water availability on the Track.
A few luxuries really help
Being ruthless to limit your packing to essential and useful items, little luxuries go a long way when you’re hiking in the wilderness.
What those are differs for everyone. For us it was a pack of playing cards and some chocolate. For another family hiking the Track at the same time it was sachets of hot chocolate.
Do some pre-hike reading
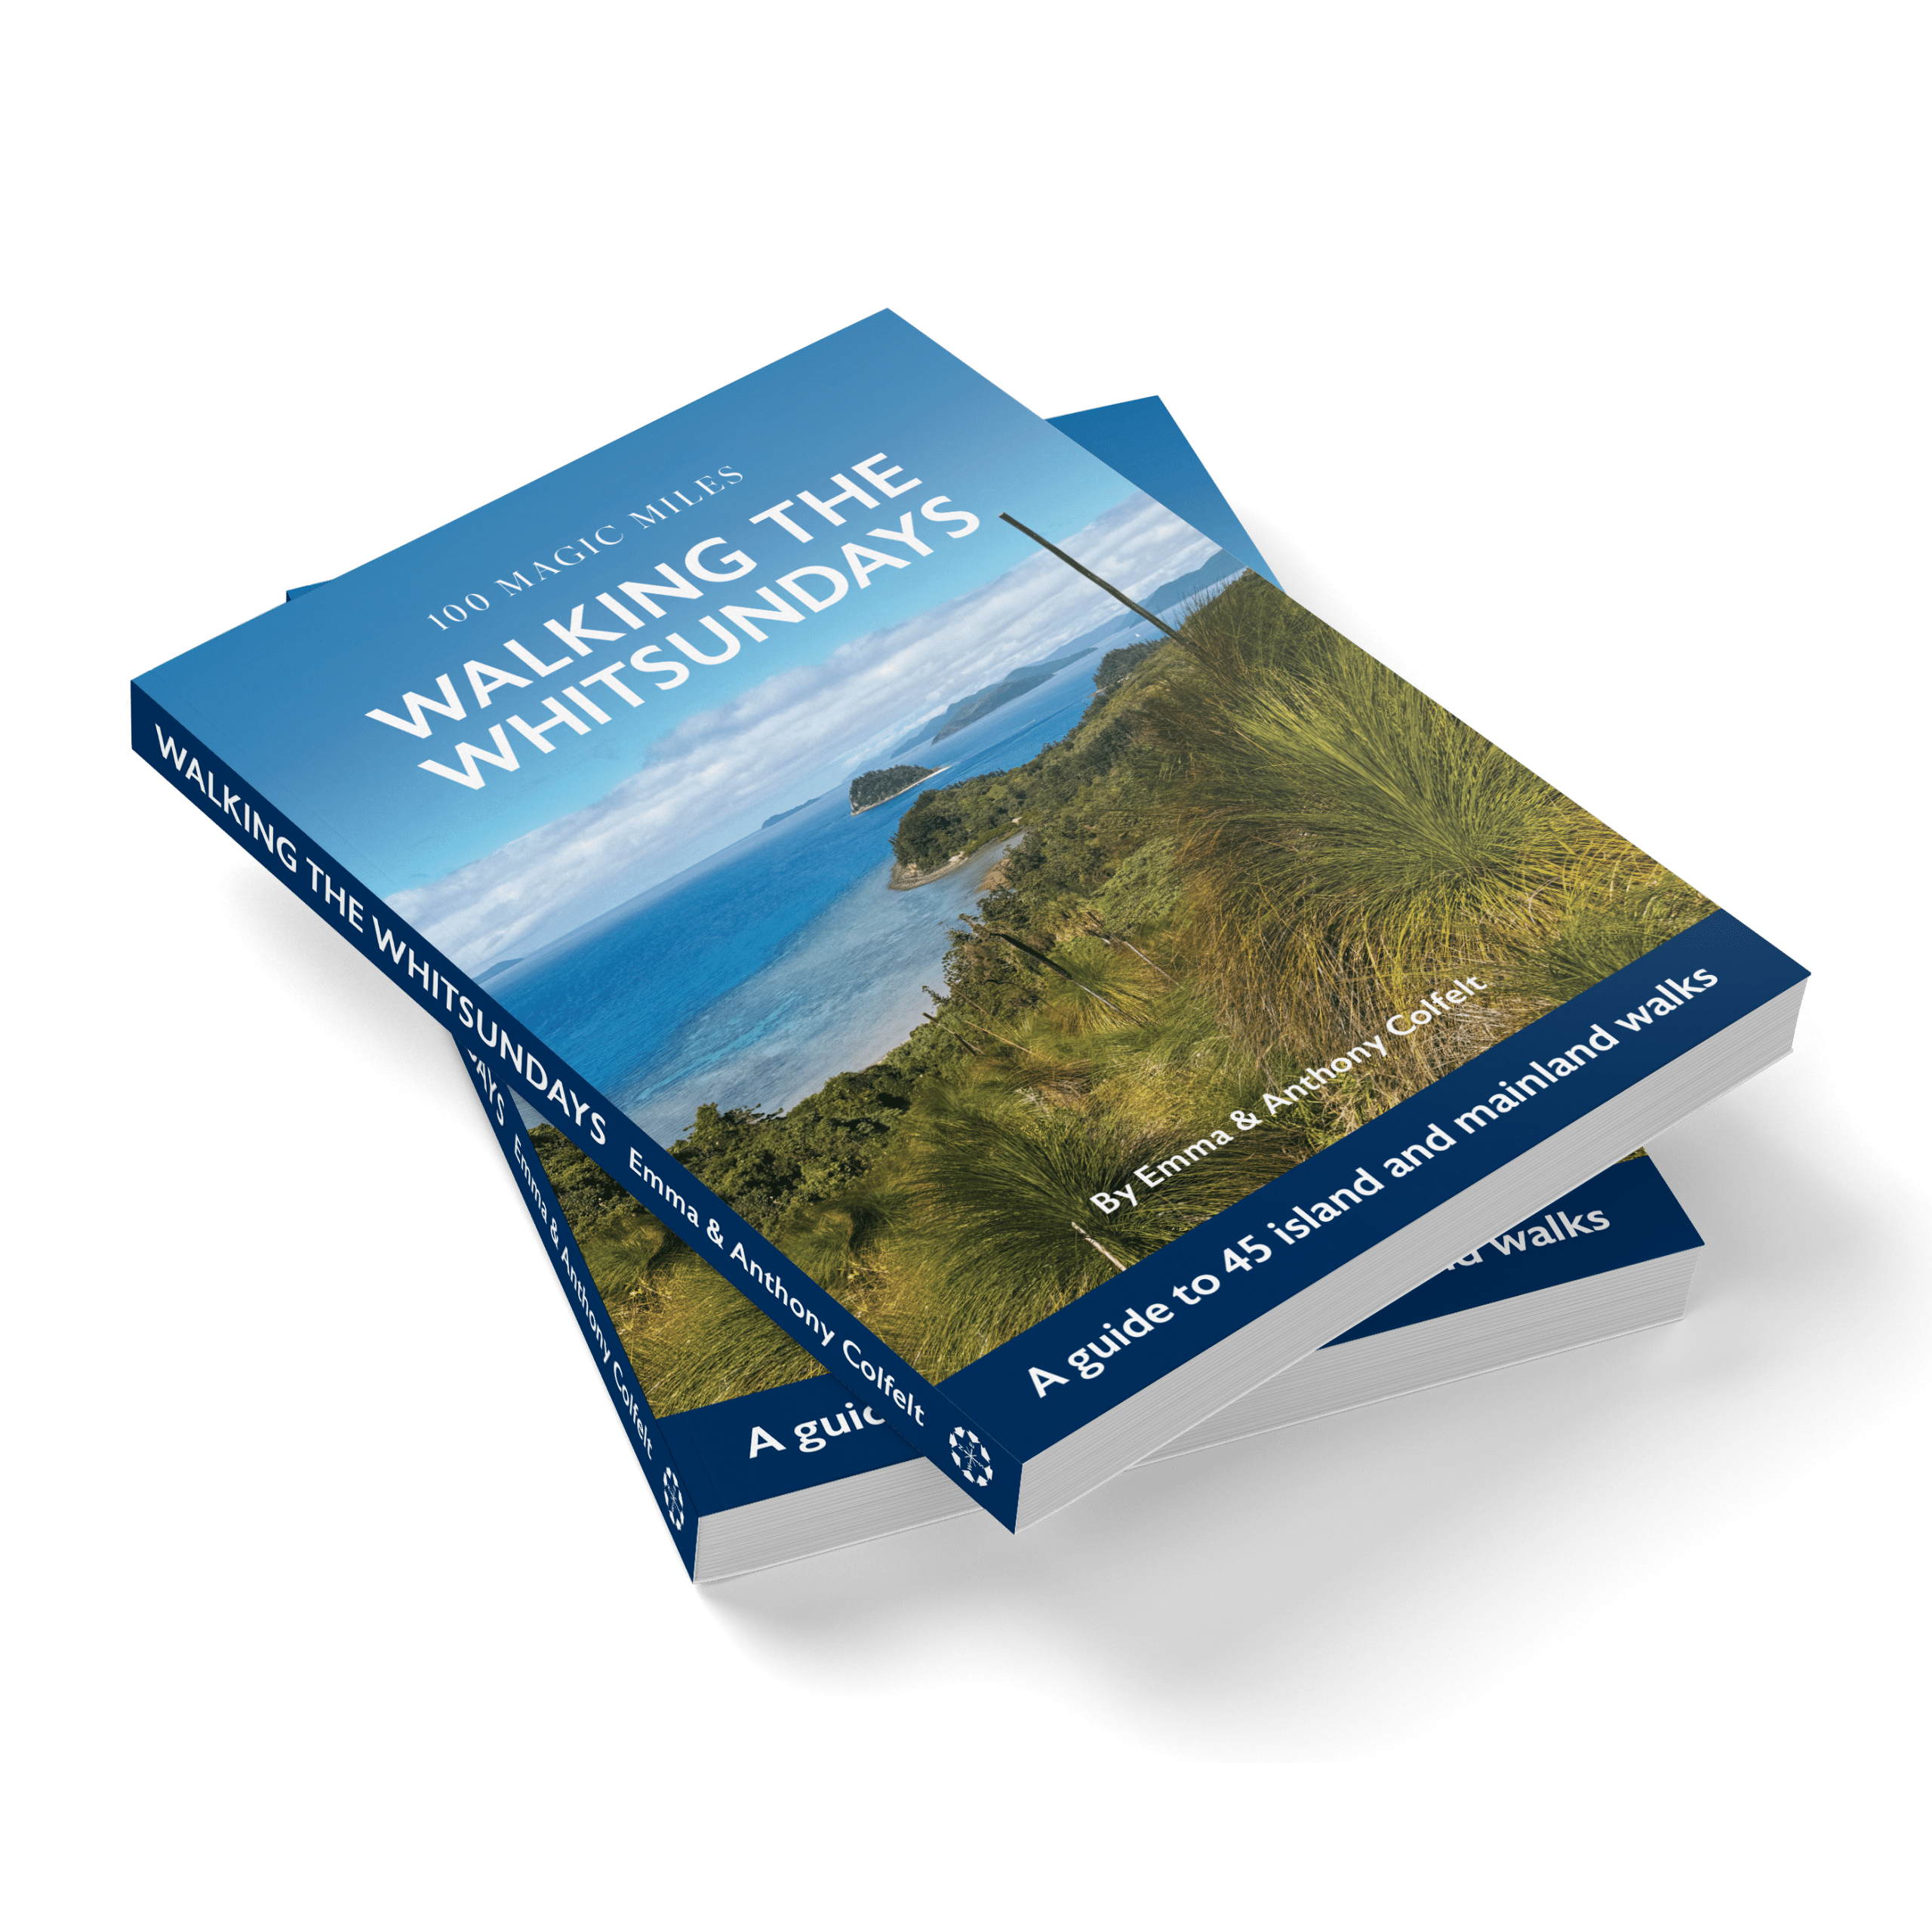
Get the most out of your Ngaro Track adventure with a copy of our book, Walking The Whitsundays. It introduces you to Whitsunday Island and the neighbouring islands you will see, so you have some context for your hike. It also brings to life the history and natural history of the islands.
Find out about…
- The violent volcanic beginnings of the islands
- Where the white sand of Whitehaven Beach and Hill Inlet came from
- How the islands were flooded and the origins of their fringing reefs
- The Ngaro people and their skilful seafaring, traditional canoes and fishing methods, rock art and the stone tools they made and traded
- The rich bird and animal life of the islands including species unique to the area
- Plants and trees you encounter as you walk
- Colonial discovery of the Whitsundays from Captain Cook to government surveyors
- The settler history of Airlie Beach, Bowen and the timber millers of Whitsunday Island
- The families that pioneered tourism in the early days of the island resorts
- Stories behind the names of the islands, peaks and landmarks
- People who have called the Whitsundays home, from Beatle George Harrison to the Oatley family who have just sold Hamilton Island
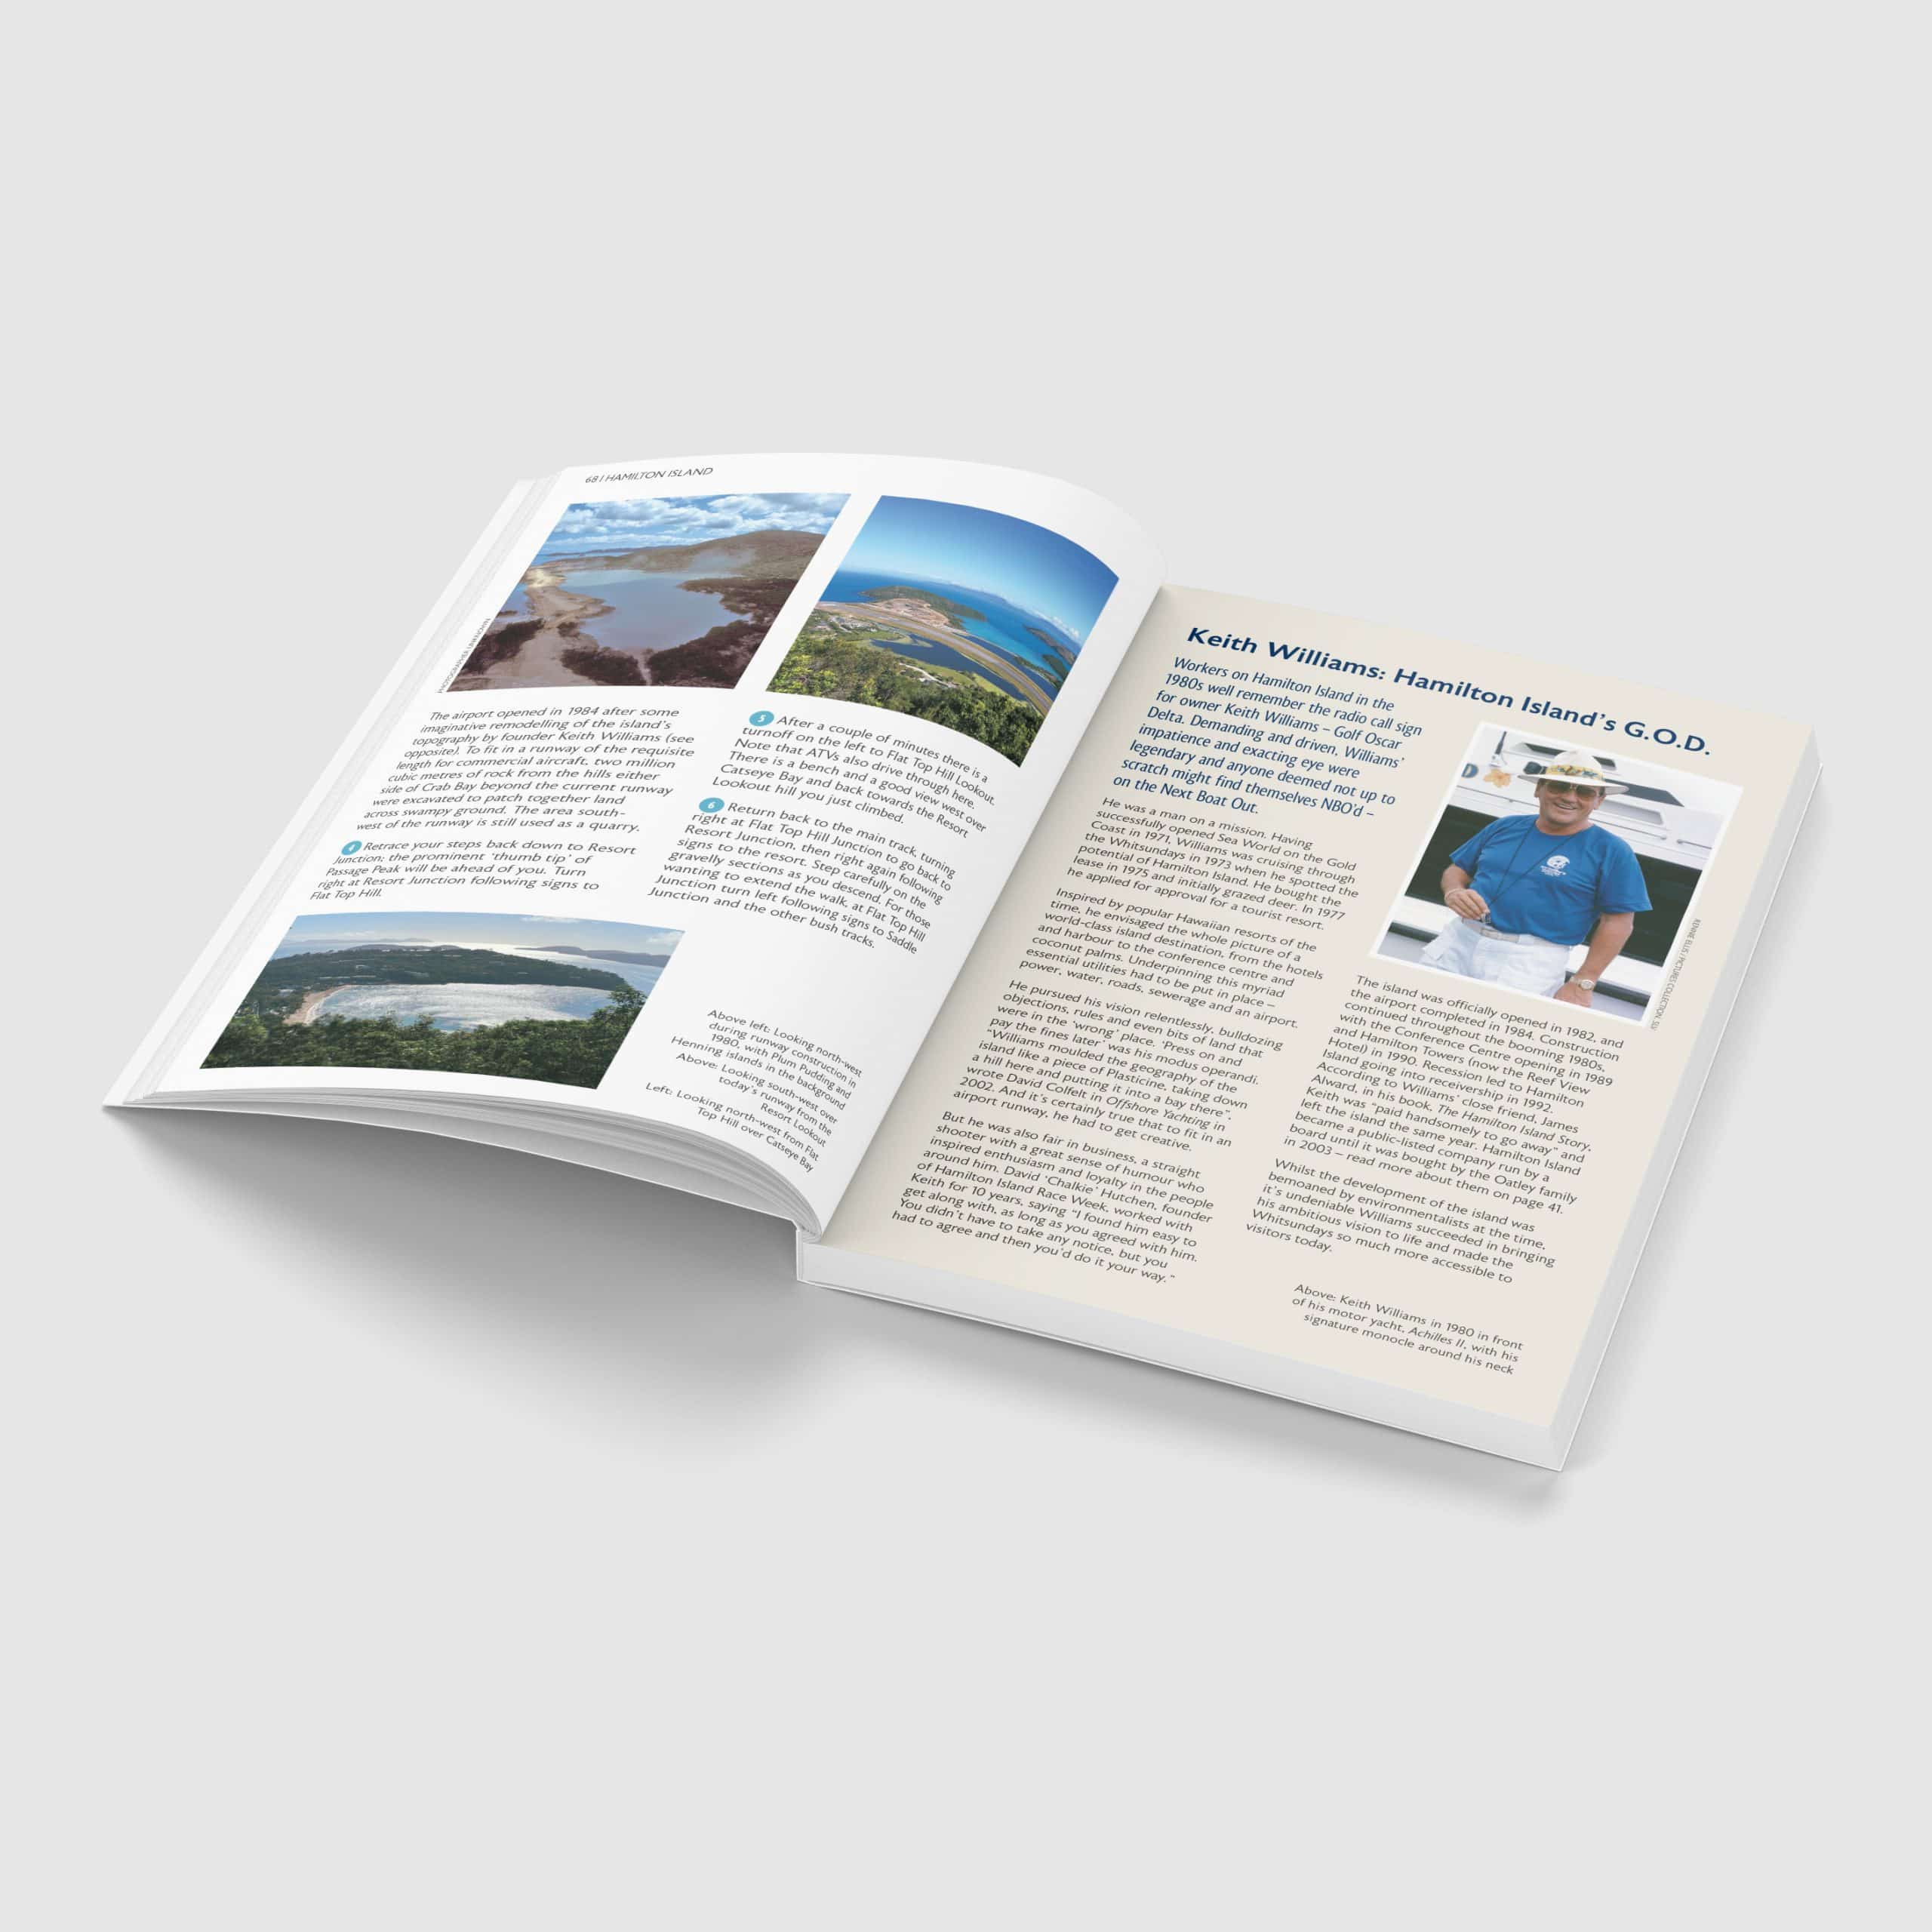
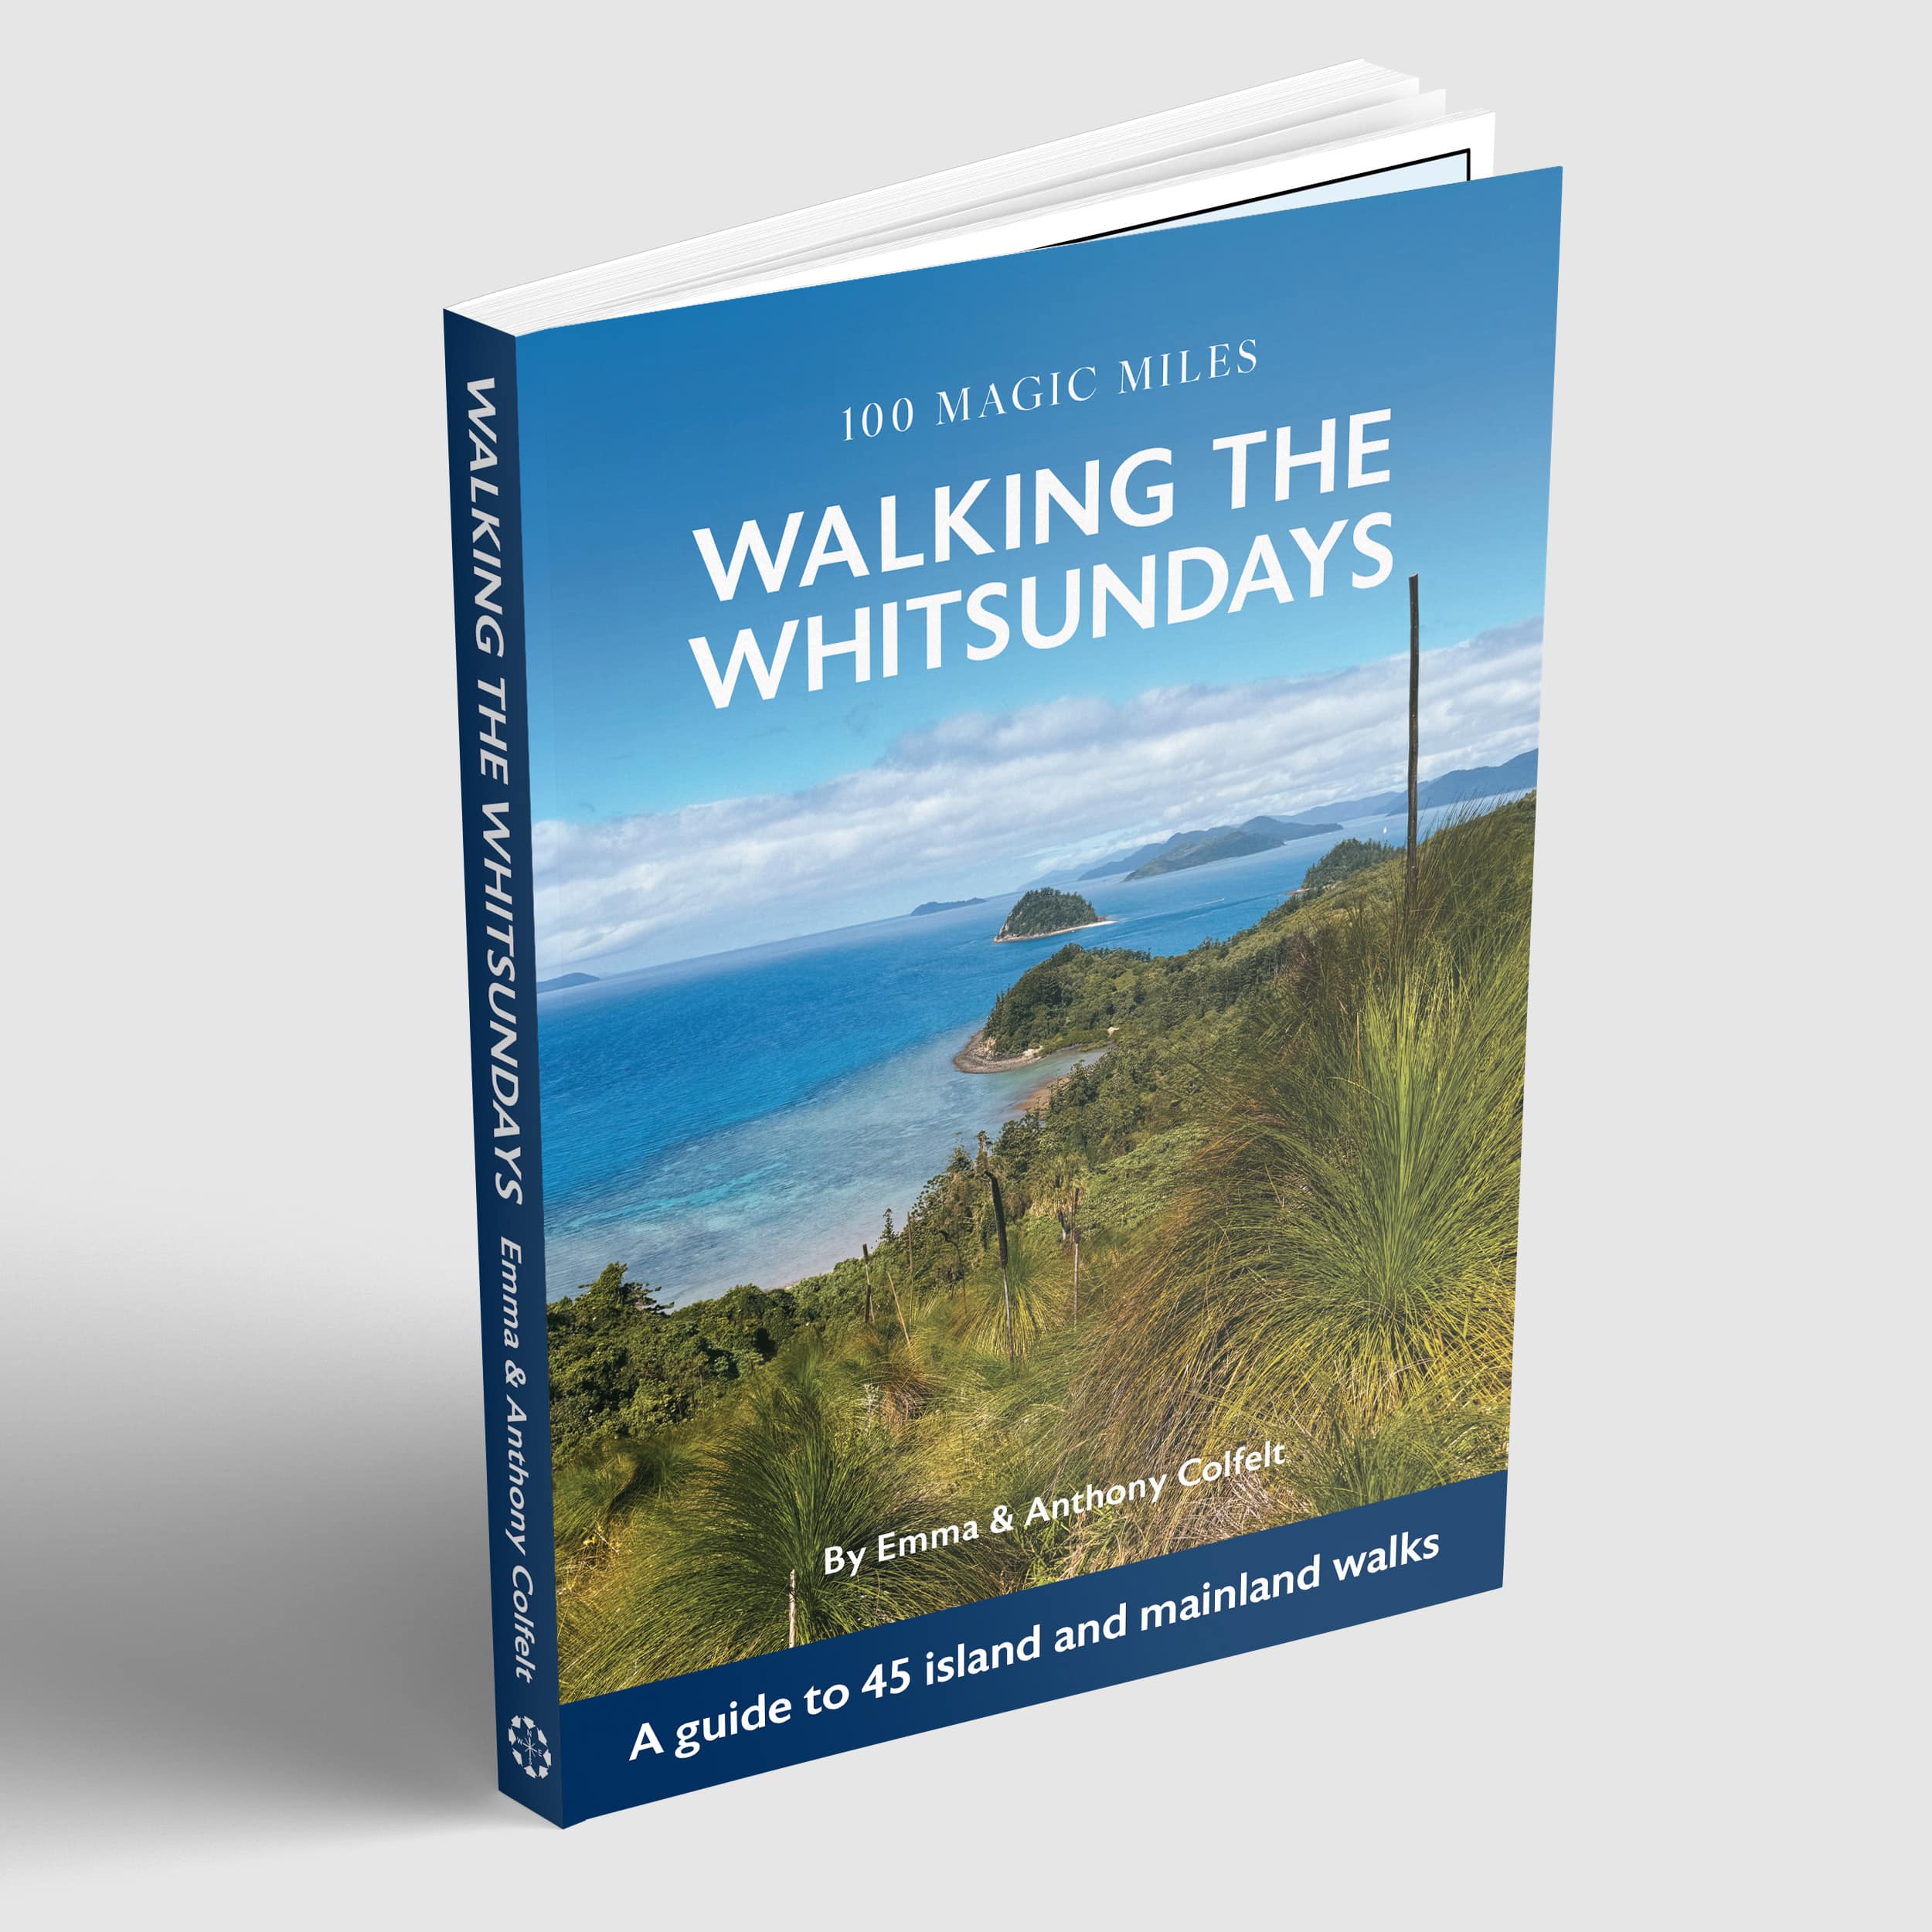
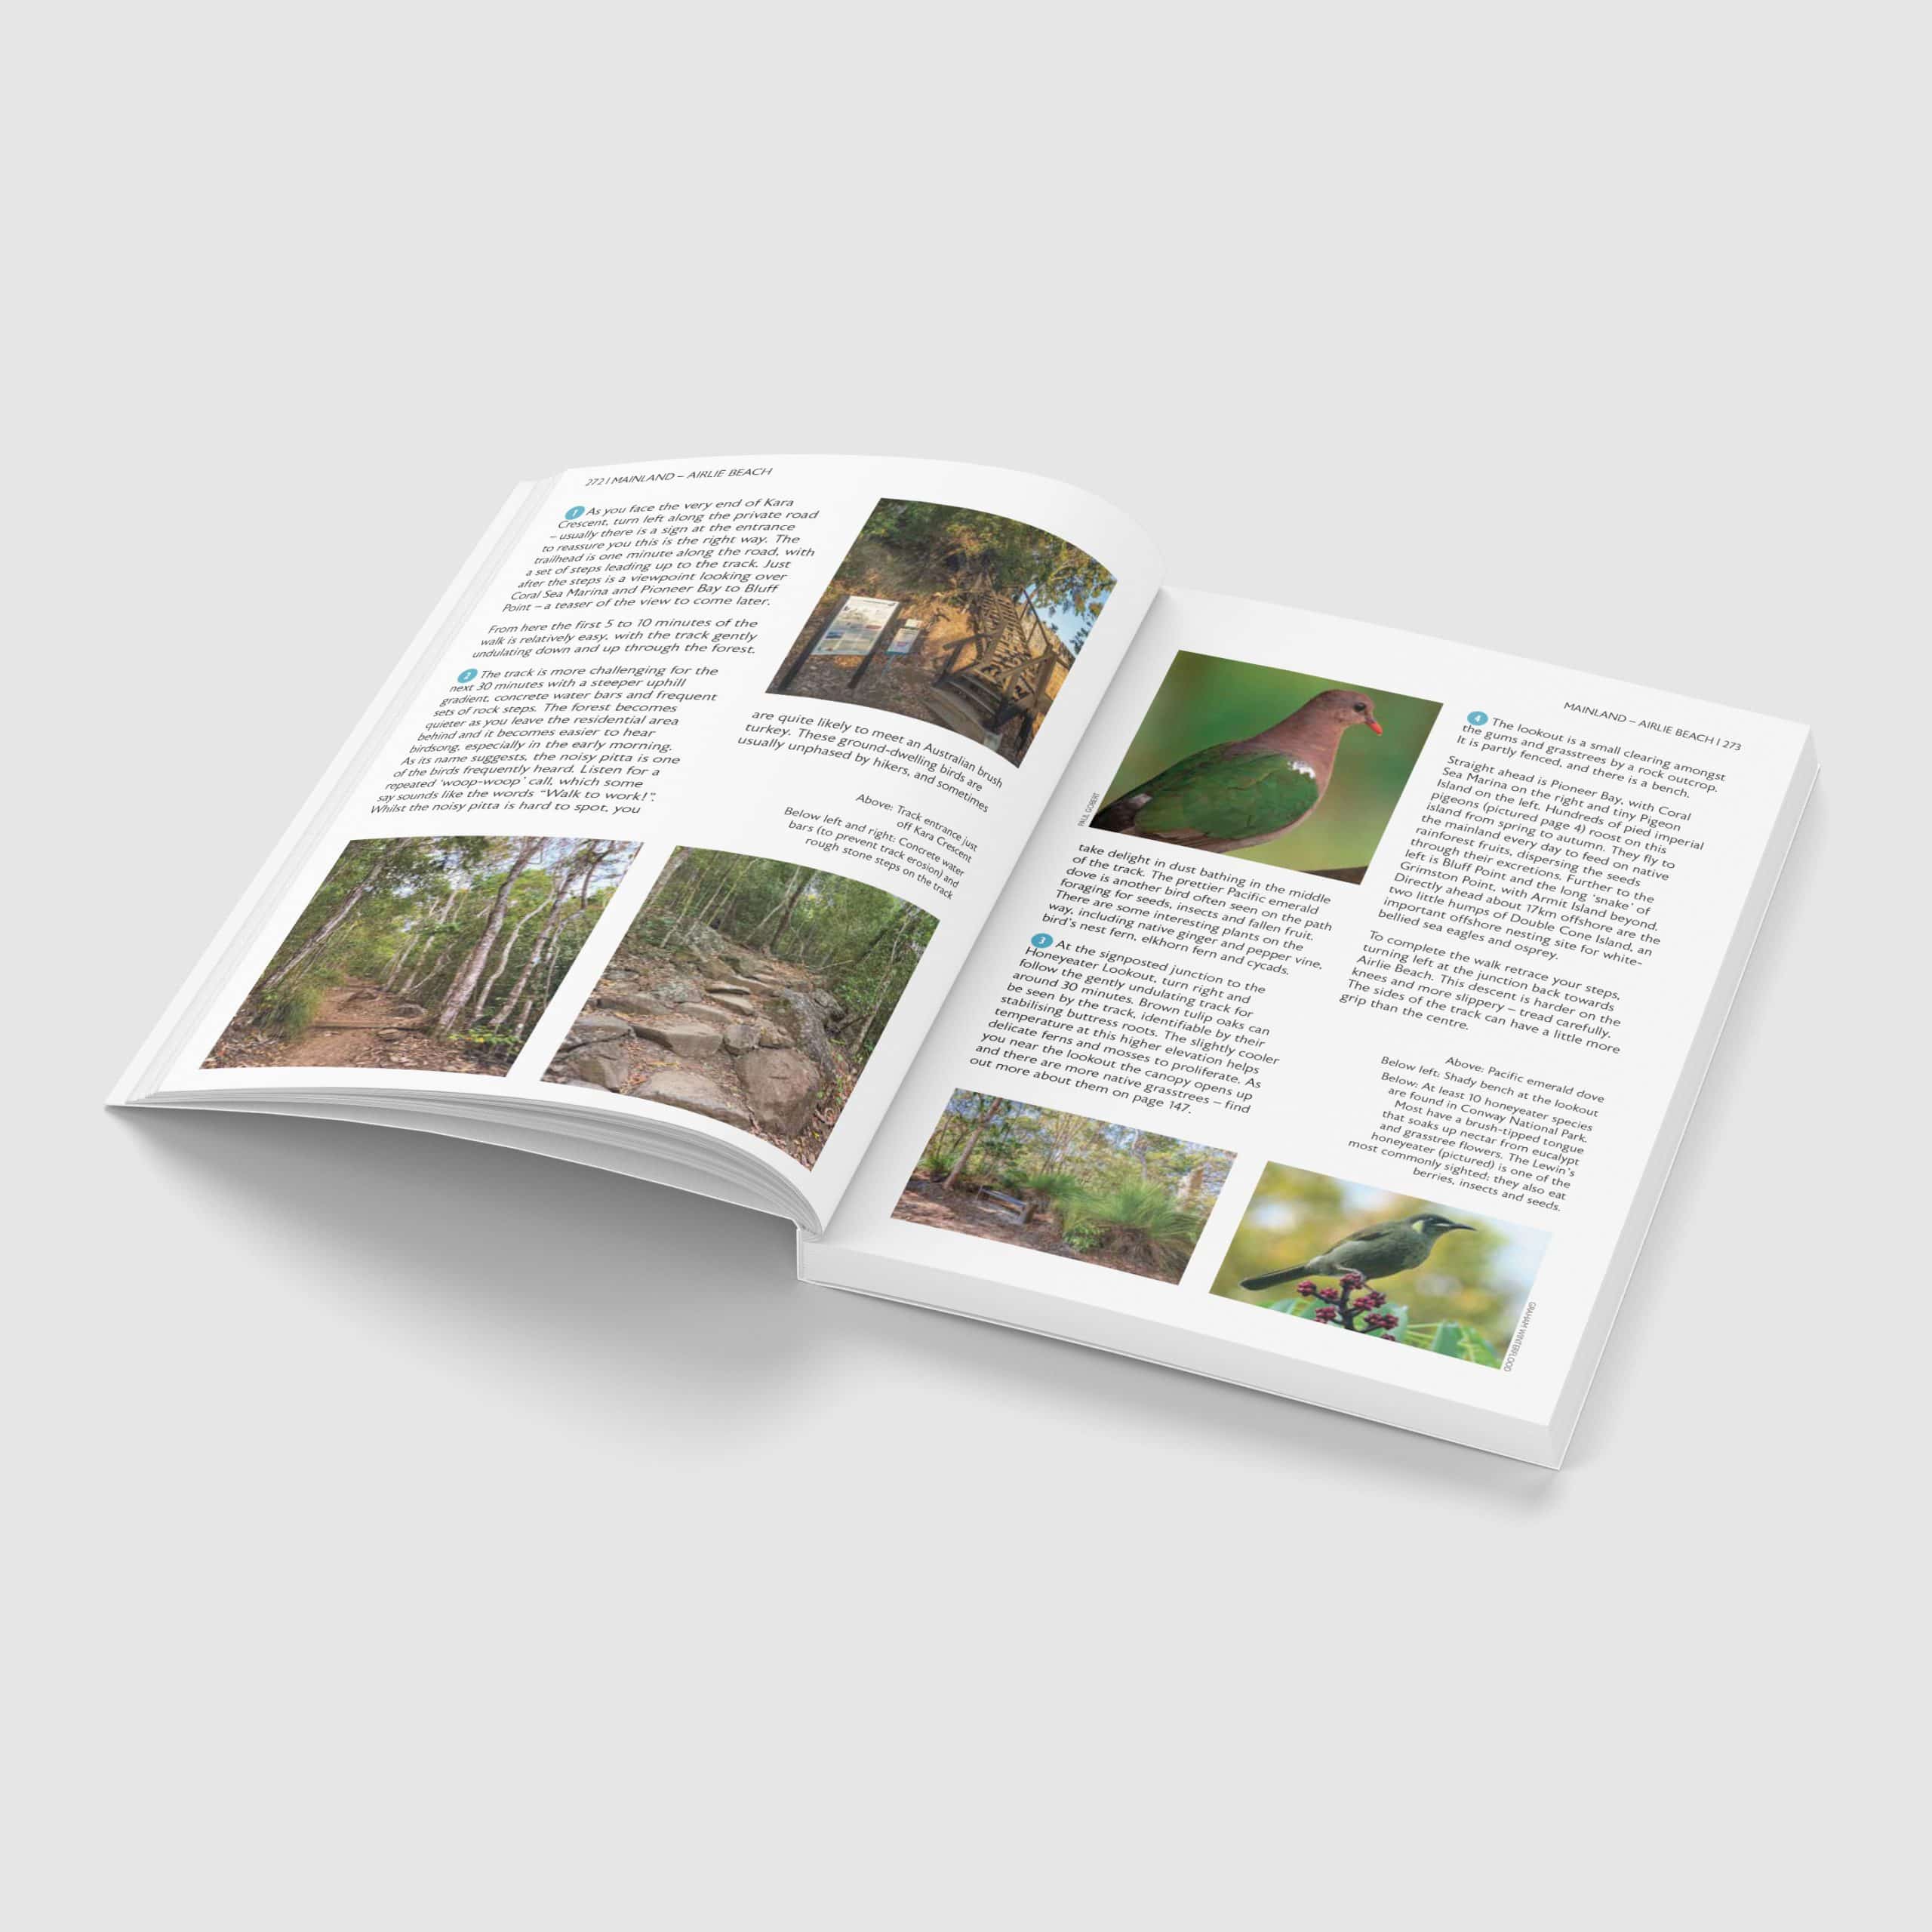
Check out Walking The Whitsundays on Channel 7 News and in the local newspapers recently
This 304-page, full-colour guidebook is packed with photographs and maps throughout, and of course if you want to combine your Ngaro Track hike with a walk on another island or the mainland, it includes 44 other walks for you to choose from! There is a huge range of walks from easy boardwalk strolls to challenging climbs. It also makes a great souvenir of your Whitsundays adventure.
Where to find more tips
A great place to browse other hikers’ experiences is the Ngaro Track and Whitsunday Hikes Facebook group. You can search in the group for specific tips and it is a friendly community where questions are welcome.
Step 4. Figure out your base items
We like to do this first, as if there are things we need to borrow, hire or buy it gives us plenty of time to organise that.
What are the base items?
The base items are all the gear in your pack, minus what you will be eating and drinking (the consumables).
Hikers usually group these into:
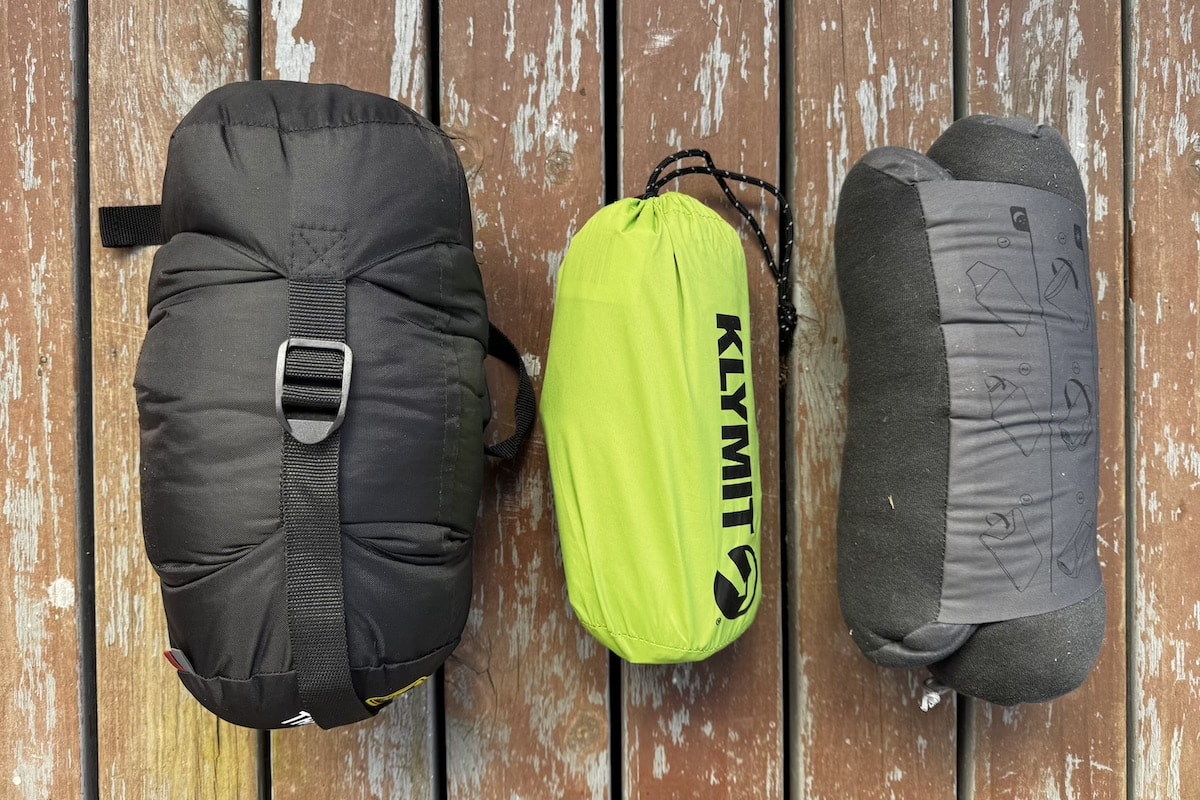
- The ‘Big Three’ e.g. Backpack, tent and sleeping bag
- Sleep System e.g. Sleeping bag, mat and pillow (or use rolled up clothes)
- Kitchen e.g. Stove, cook pot, lighter/matches, crockery, cutlery
- Packed Clothes e.g. Jacket, layers, spares, camp shoes, swimmers
- Safety & Hygiene e.g. First aid kit, trowel, loo paper, sunscreen, repellent, sanitiser, compass
- Electronics e.g. Headlamp, phone, powerpack, personal locator beacon, camera
- Miscellaneous e.g. Duct tape, cord/rope, bits and bobs
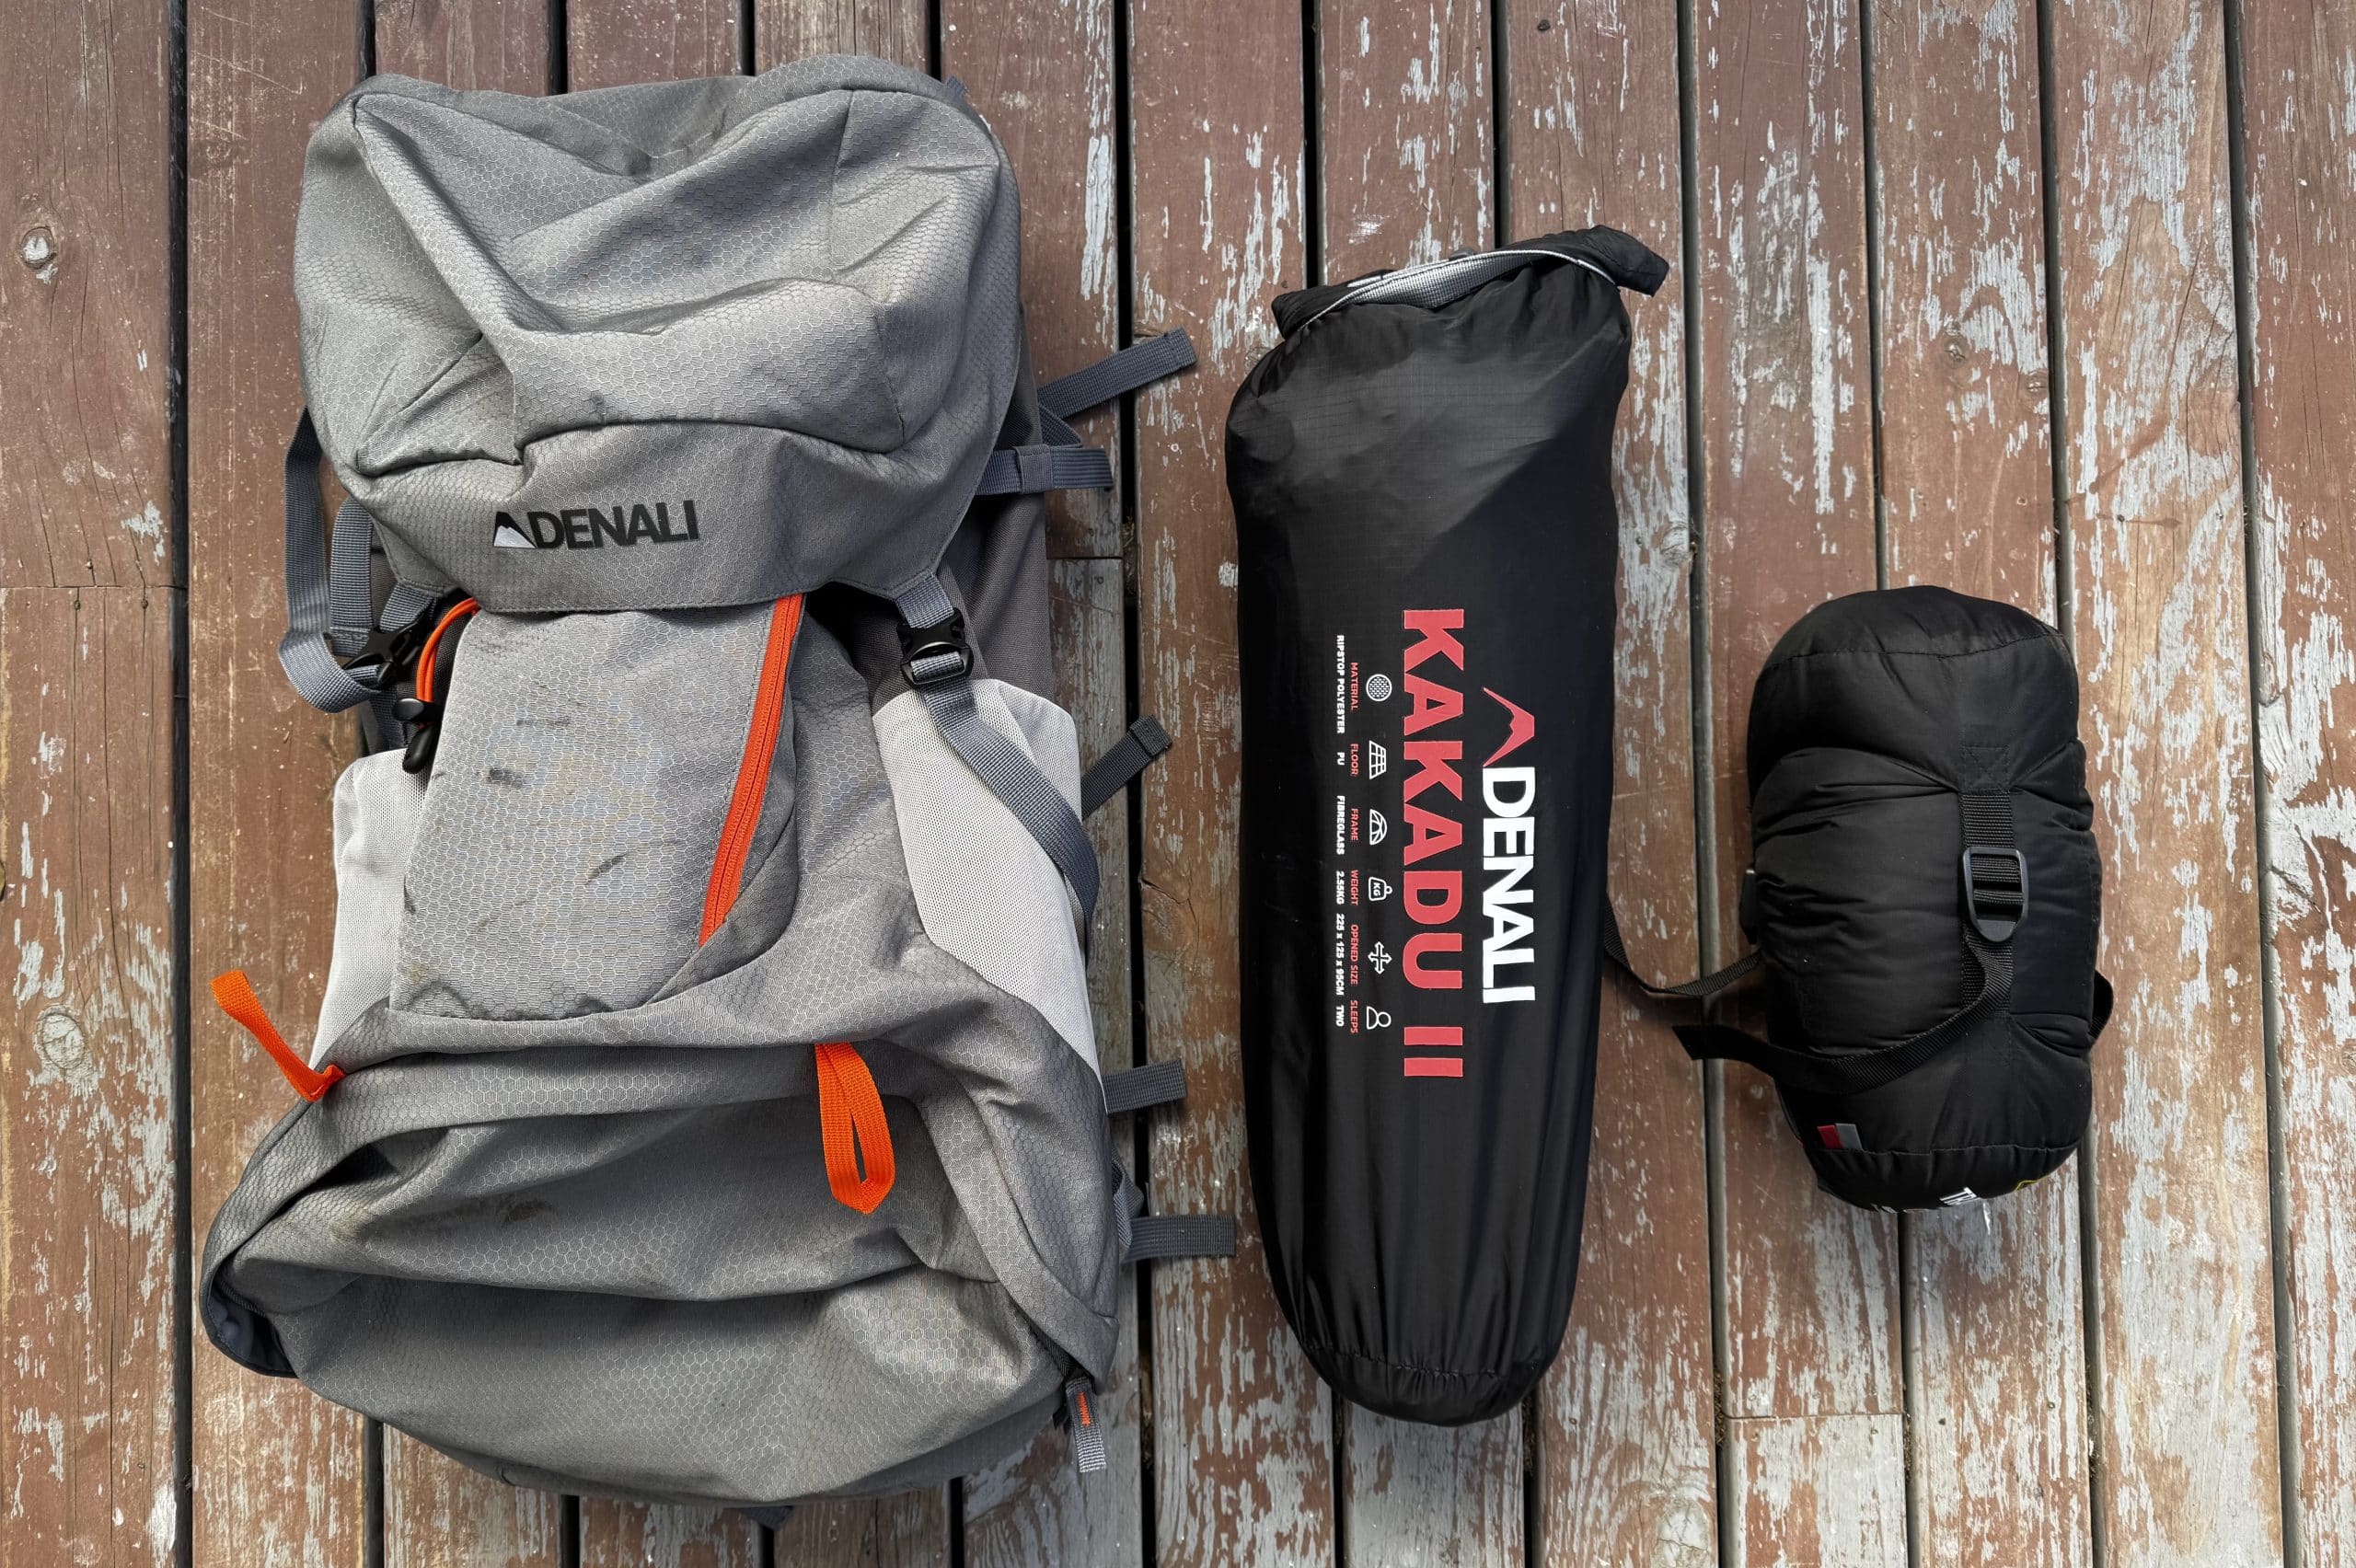
The ‘Big Three’
The ‘Big Three’ items are the heaviest and bulkiest to carry:
- Backpack: As the Ngaro Track is only 2 nights / 3 days, aim for a backpack with a 40–55 litre capacity. See Australian Hiker’s Choosing a Backpack article for good advice.
- Tent/Shelter: Look for lightweight hiking tents with fine mesh to keep midges/sandflies out and allow ventilation.
- Sleeping Bag: With minimum overnight temperatures between April and October averaging 17–23°C, sleeping bags with a comfort rating of around 5°C to 8°C are fine for most hikers.
Reducing the weight of these items as much as you can within your budget will have the biggest effect on your total pack weight.
We have a lightweight 2-person hiking tent we got on sale at Anaconda for $99. It was advertised as being 2.55kg but when we weighed it ourselves it was 2.7kg. We left the metal tent pegs at home, knowing we’d be camping on wooden tent platforms where we could just tie the tent down. This brought the weight of the tent down to 2.4kg.
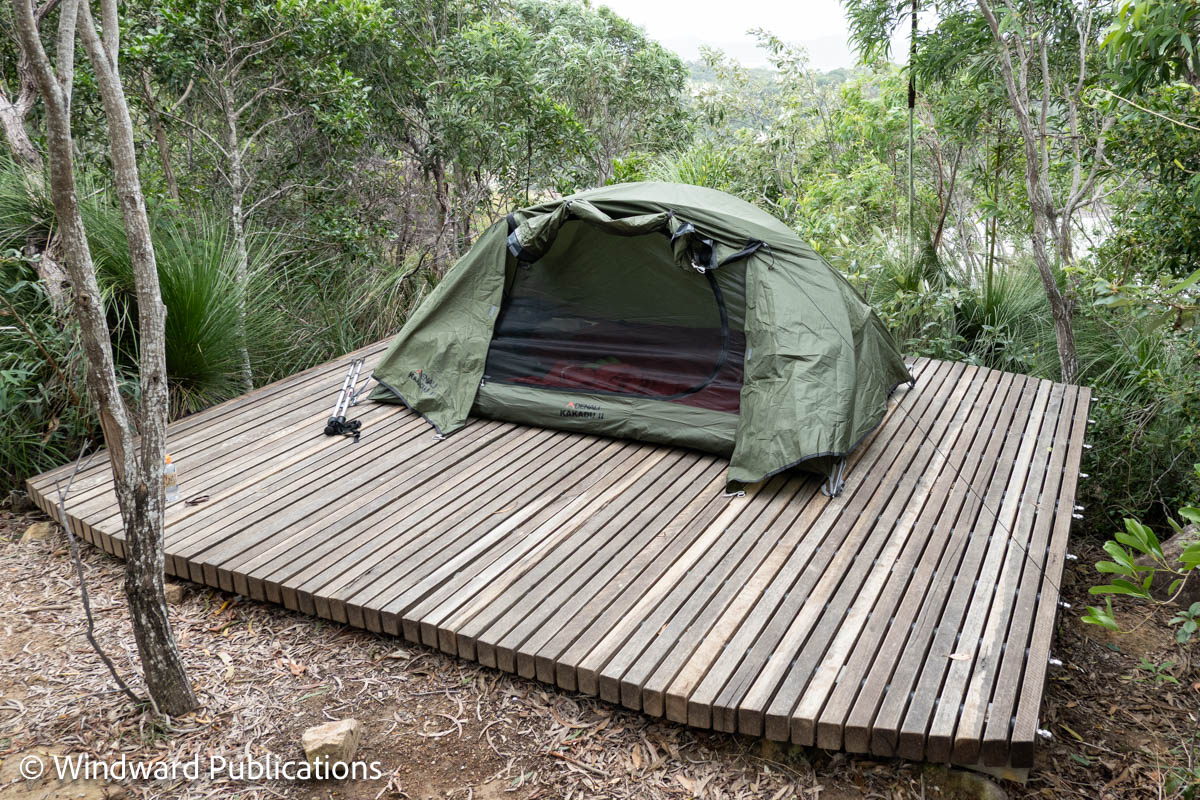
There are lighter hiking tents available but they were too expensive for us – $300+ for something just under $2kg and $900+ for something just under $1kg.
Packed clothes
Keep spare clothes at a minimum and make each item useful – if you’re wearing shorts, pack a pair of lightweight long pants; if you’re wearing a short-sleeved t-shirt, pack a long-sleeved t-shirt as a slightly warmer layer you can add. Make sure you have a jumper and a waterproof jacket for the cooler evenings and if it rains.
One especially useful item to bring is a pair of camp shoes. Even when your hiking boots are comfortable it’s a relief to have an alternative around camp. We found that Crocs were ideal as they are lightweight and would also serve well should you need to get your feet wet disembarking at Whitehaven Beach or at the creek crossings. Being closed they give your toes a bit of protection.
Safety and hygiene
The safety items on the ‘Compulsory Items’ part of the official packing list are there for a reason. This is a remote island walk with limited mobile phone reception, and you must have a way of making an emergency call or distress signal via satellite. We opted for one of us to wear an Apple Watch that had satellite emergency SOS capability, and the other carried a Personal Locator Beacon (PLB). We both had phones and a powerpack, and we found we had some mobile reception at Camp 1, during Day 2 and at Camp 2, but this shouldn’t be relied on.
There are a few offshoots on the Ngaro Track where you can leave your backpack at a junction or water point whilst you continue onto a viewpoint. We’d recommend having your first aid kit with personal locator beacon in a small pouch so you can easily take that with you. The viewpoints are usually rocky outcrops which of course snakes enjoy basking on, so it’s prudent to have your first aid kit with you. The offshoots are not very long so we did them without bringing any water with us – plus our water was in bladders inside our backpacks. Next time we’d have lightweight water bottles so we could at least bring one with us on the offshoots in case there was a problem.
Pack your base items for practice hikes
As we dug out items from our camping boxes in the garage, or bought them, or borrowed them, we found it helpful to gather them together into our backpacks so they were all in one place.
We left the packs by the front door so they were easy to take with us on bushwalks in the months and weeks leading up to the Ngaro Track to get used to them.
Step 5. Figure out your worn items
Next we like to sort out what we’re going to be wearing on the hike that will suit the likely conditions. The best clothes are lightweight and quick-drying, which means synthetic rather than cotton.
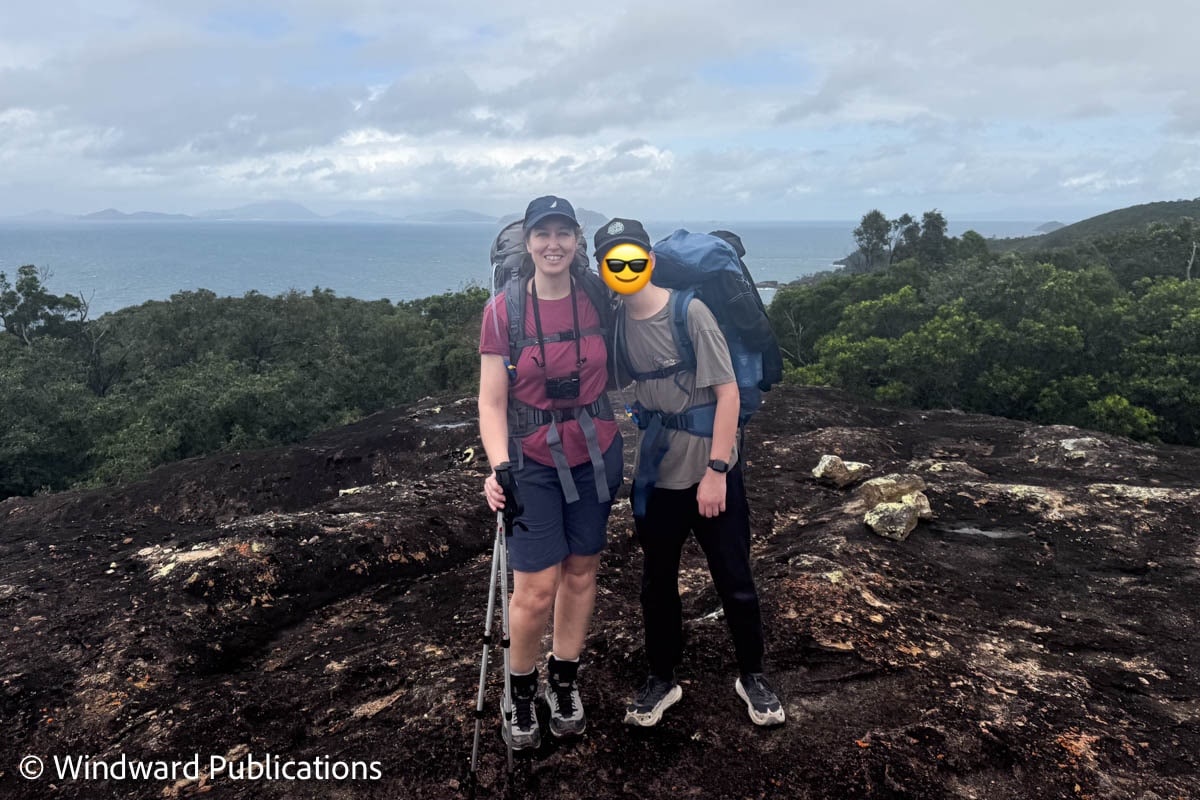
- Hiking boots/shoes: Don’t leave these to the last minute – you want to have plenty of time to get used to them before the big hike.
- Socks: Some people like to do a double layer of thin “toe socks” like these Injinji liner socks followed by a lightweight regular pair to prevent blisters. Read more about blister prevention and treatment.
- Shorts or long pants: Long pants are a good idea because of the possibility of snakes, stinging trees and mosquitoes/sandflies but are too hot for some people. On our hike half the group wore pants and half wore shorts.
- Top: Short or long sleeved top with shoulders covered
- Hat
- Trekking poles: Helpful for people of all ages – read more about why. Get used to using them beforehand so they become second nature.
Best decision ever bringing the walking sticks! This was a no-brainer as I heavily relied on pulling myself up the hills using the sticks rather than relying on just my legs and straining quad muscles. – Narelle, Ngaro Track Hiker
A note on shoes: Depending on the conditions when you disembark at Whitehaven Beach you may need to step into the shallow water. Some hikers are preferring to wear their camp shoes on the way there, such as Crocs, so they don’t get their hiking shoes wet. Talk to the Scamper team when you check in as they may be able to advise depending on the current conditions whether you’ll be able to step straight onto the sand or not.
Step 6. Figure out your consumables
This is the food and water you consume during the hike. Given you can top up on water regularly on the Ngaro Track, it’s the food that requires more thought.
At a minimum you need 2 x breakfasts, 3 x lunches, 2 x dinners, and snacks. Ideally you should bring enough food in case you have to stay an extra day, for example if the conditions don’t allow you to be collected when planned.
For us, our menu was:
- Breakfasts: Tea and Uncle Toby’s creamy honey porridge sachets (decanted into two ziplock bags, one for each morning)
- Lunches: Wraps with cheese slices (we were hiking in winter and took the risk of keeping the cheese out of the fridge for 3 days; this wouldn’t work in September/October/April/May)
- Dinners: Asian grocer noodle bowls, contents decanted into ziplock bags; a supermarket rice meal
- Snacks: Muesli bars, dried cranberries, almonds, chocolate, apples and some supermarket scrolls to fill our teenage son up.
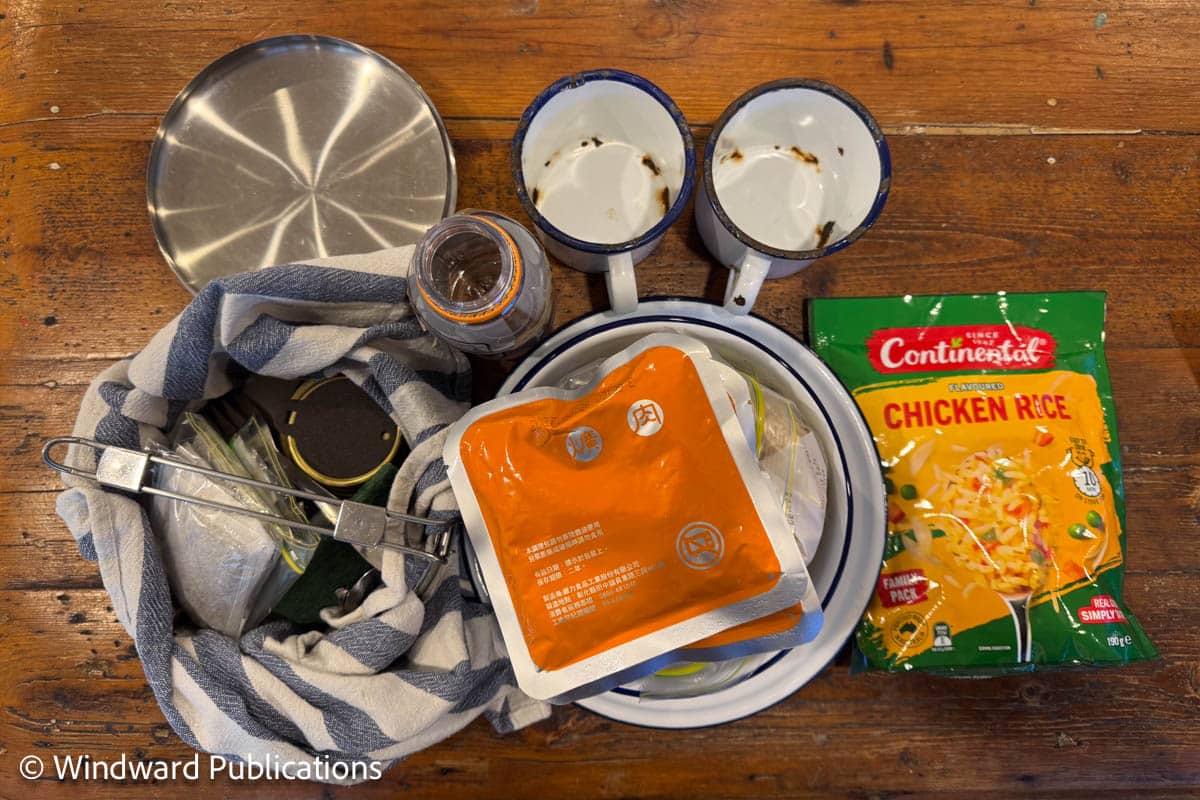
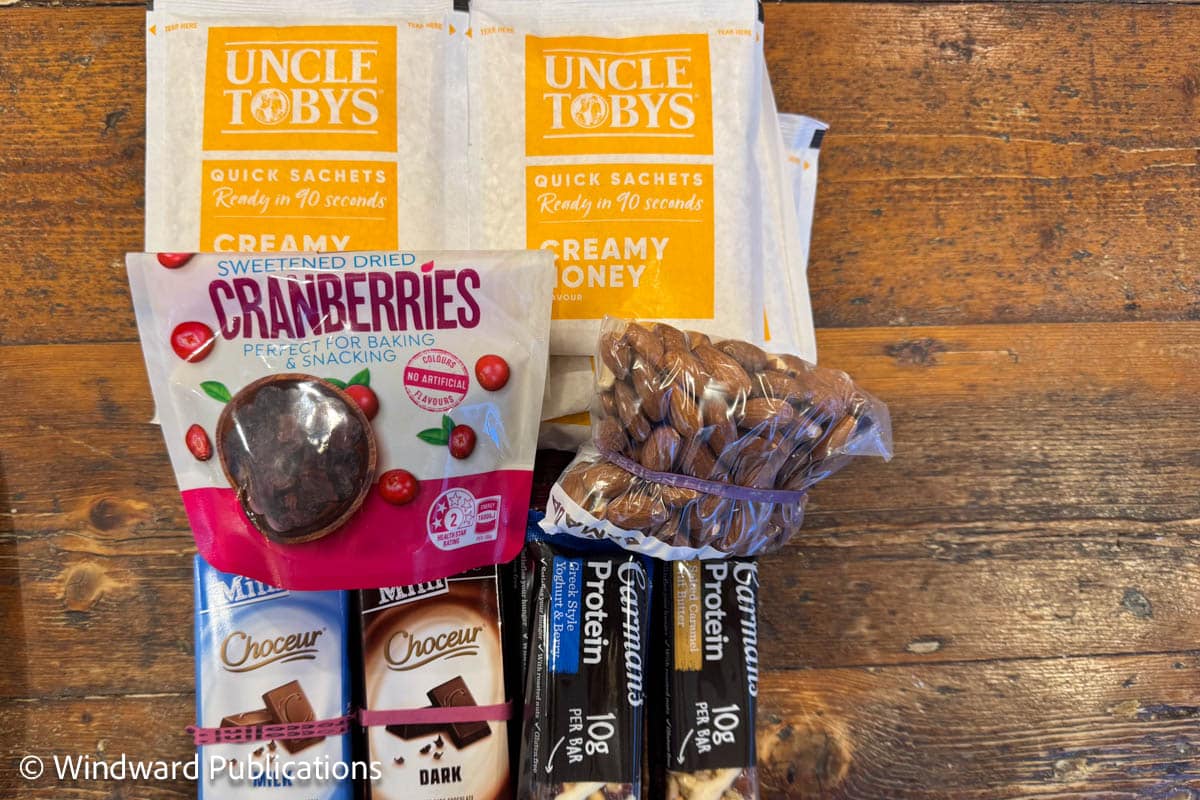
We had just enough food for our hike without any spare. We knew we should bring extra in case of delays in our return transfer, but seeing the weather forecast looking calm in the days ahead, we preferred not to carry the extra weight.
Our meths stove was super lightweight but not very windproof, so it took too long to heat water giving us tepid tea and slightly crunchy noodles. Next time we would definitely go with a Jetboil stove.
Step 7. Pack, test, edit and repack
For most of us, just gathering everything you need together for the hike is a big job. The run up to an adventure like this often means some extra-busy days and weeks at work and at home before you go on leave, and the details of what you’re packing for the hike is just another job you don’t have enough time for.
Do an overnight hike or a long day hike beforehand if you can
If you can, spending a bit of time doing a full pack up with water and some food, weighing your pack and doing a practice overnight hike with it is well worth it.
It gives you the chance to familiarise – or re-familiarise – yourself with your stove, your tent and your pack. You can try out your food ideas and see if they work. Test out how many phone charges you get out of your powerpack. See if there’s anything you brought that you could go without.
We purchased all our ultralight gear and thoroughly tested it all out, sleeping multiple nights in the backyard so we were okay with setting up and packing up our new tent and camping gear. – Narelle, Ngaro Track Hiker
If you can’t do an overnight hike, an alternative is to plan a day hike but bring your full overnight pack so you can feel what it’s like. Use your stove to brew a hot drink or make lunch. Even camping in the backyard helps!
Getting geeky
Some people like to get really into the details of what they pack and reducing the weight as much as possible. There is an endless amount of time you can spend fine-tuning, weighing and geeking out with a spreadsheet or a packing app like LighterPack, if that’s your jam.
Find like-minded gram counters in Facebook groups like Ultralight Hiking Australia. For more on lightweight and ultralight hiking check out ‘Journey Towards Ultralight‘ by Tim and Gill Savage aka Australian Hiker.
Step 8. The final bits
It’s amazing how many “final bits and pieces” often need to be added at the end, and there’s always the temptation to add a few things “just in case”.
Fresh food
You might need to buy some bits of food right before your hike, and interstate travellers must remember that some foods can’t be brought into Queensland due to biosecurity and quarantine laws.
Items you can’t bring on flights
If you’re travelling interstate to get to the Whitsundays, this might mean buying the things you can’t bring on a plane – your stove gas canister for example. Ngaro Track transfer operator Scamper has these available so they’re a good first port of call to talk to about this.
The best feeling
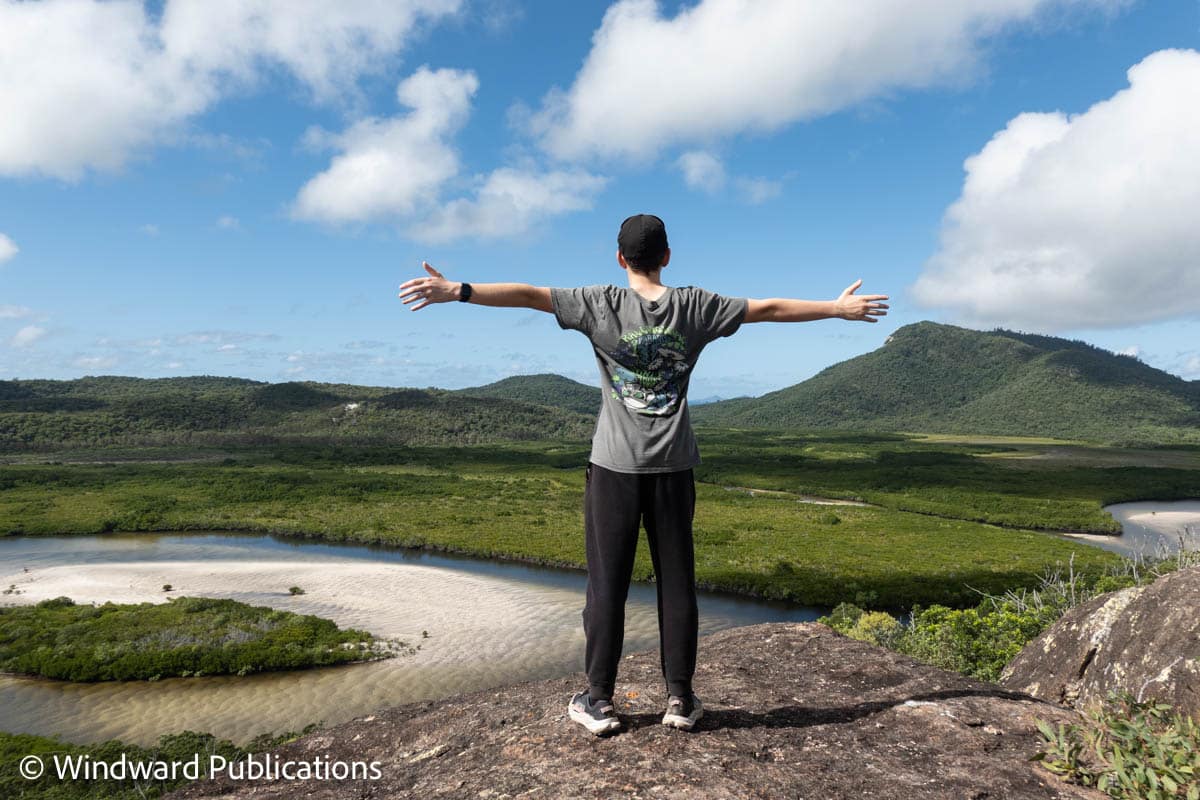
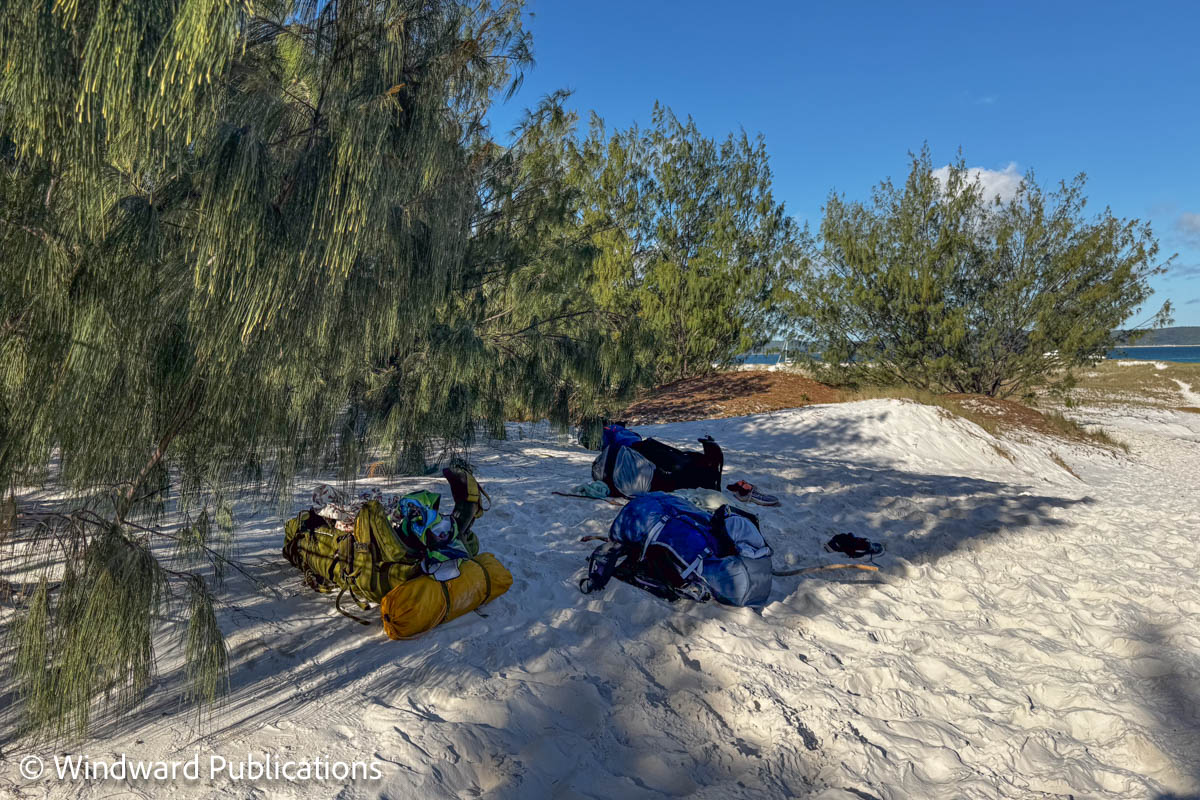
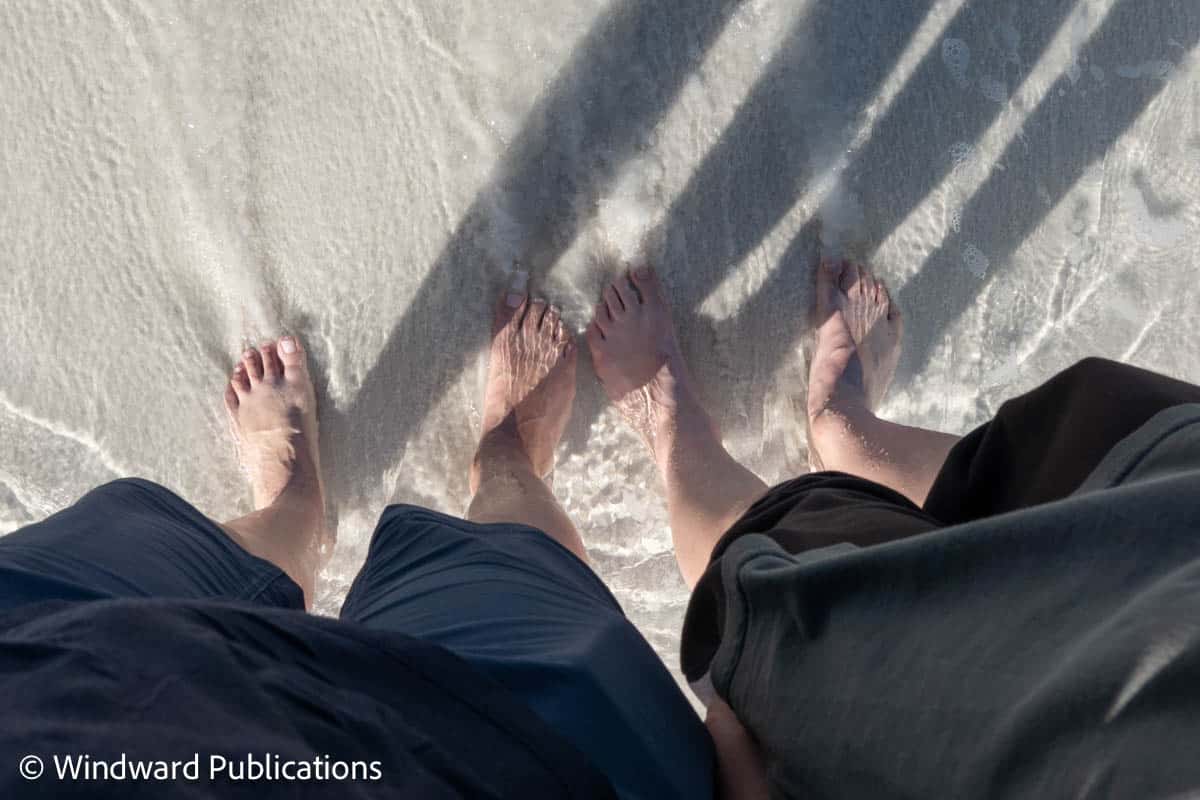
Although we packed carefully and did practice hikes, carrying our packs was definitely the most challenging part of the Ngaro Track for us and all the other hikers we’ve spoken to. However this did mean that the parts when you can leave your packs behind had a wonderful feeling of lightness and freedom. Most especially, arriving at Hill Inlet and putting our packs down under the swaying she-oak trees, taking off our boots and plunging our feet into the clear water was the best feeling and a delightful way to end our adventure.
Read more in our Ngaro Track series for more tips and insights
- Is the Ngaro Track Multi-Day Hike For You?
- Walking The Ngaro Track with Kids and Teens
- Ngaro Track Reviews – Hiker Highlights & Challenges – Coming Soon!